Meat Stew

Meat Stew

We’re back! We’re finally back! And you know what? It feels good.

Now, raise your hand if you, like me, prefer winter to summer. Really? That few? Come on! Winter is way better than summer. With that delightfully chilly weather, sweaters and sweatshirts, heated blankets, hot cocoa, and warm, thick soups. It’s the best time of year for most of my favorite things and I love it! Plus, there’s nothing like sitting near a window watching new-falling snow, reading a book under a cozy blanket, and drinking delicious hot chocolate. I’d take that over blistering heat and sweaty armpits everyday.

But enough about me, let’s get on to this stew, surely something we can all appreciate in the next few cold weather months.

Meat Stew
difficulty and time meter

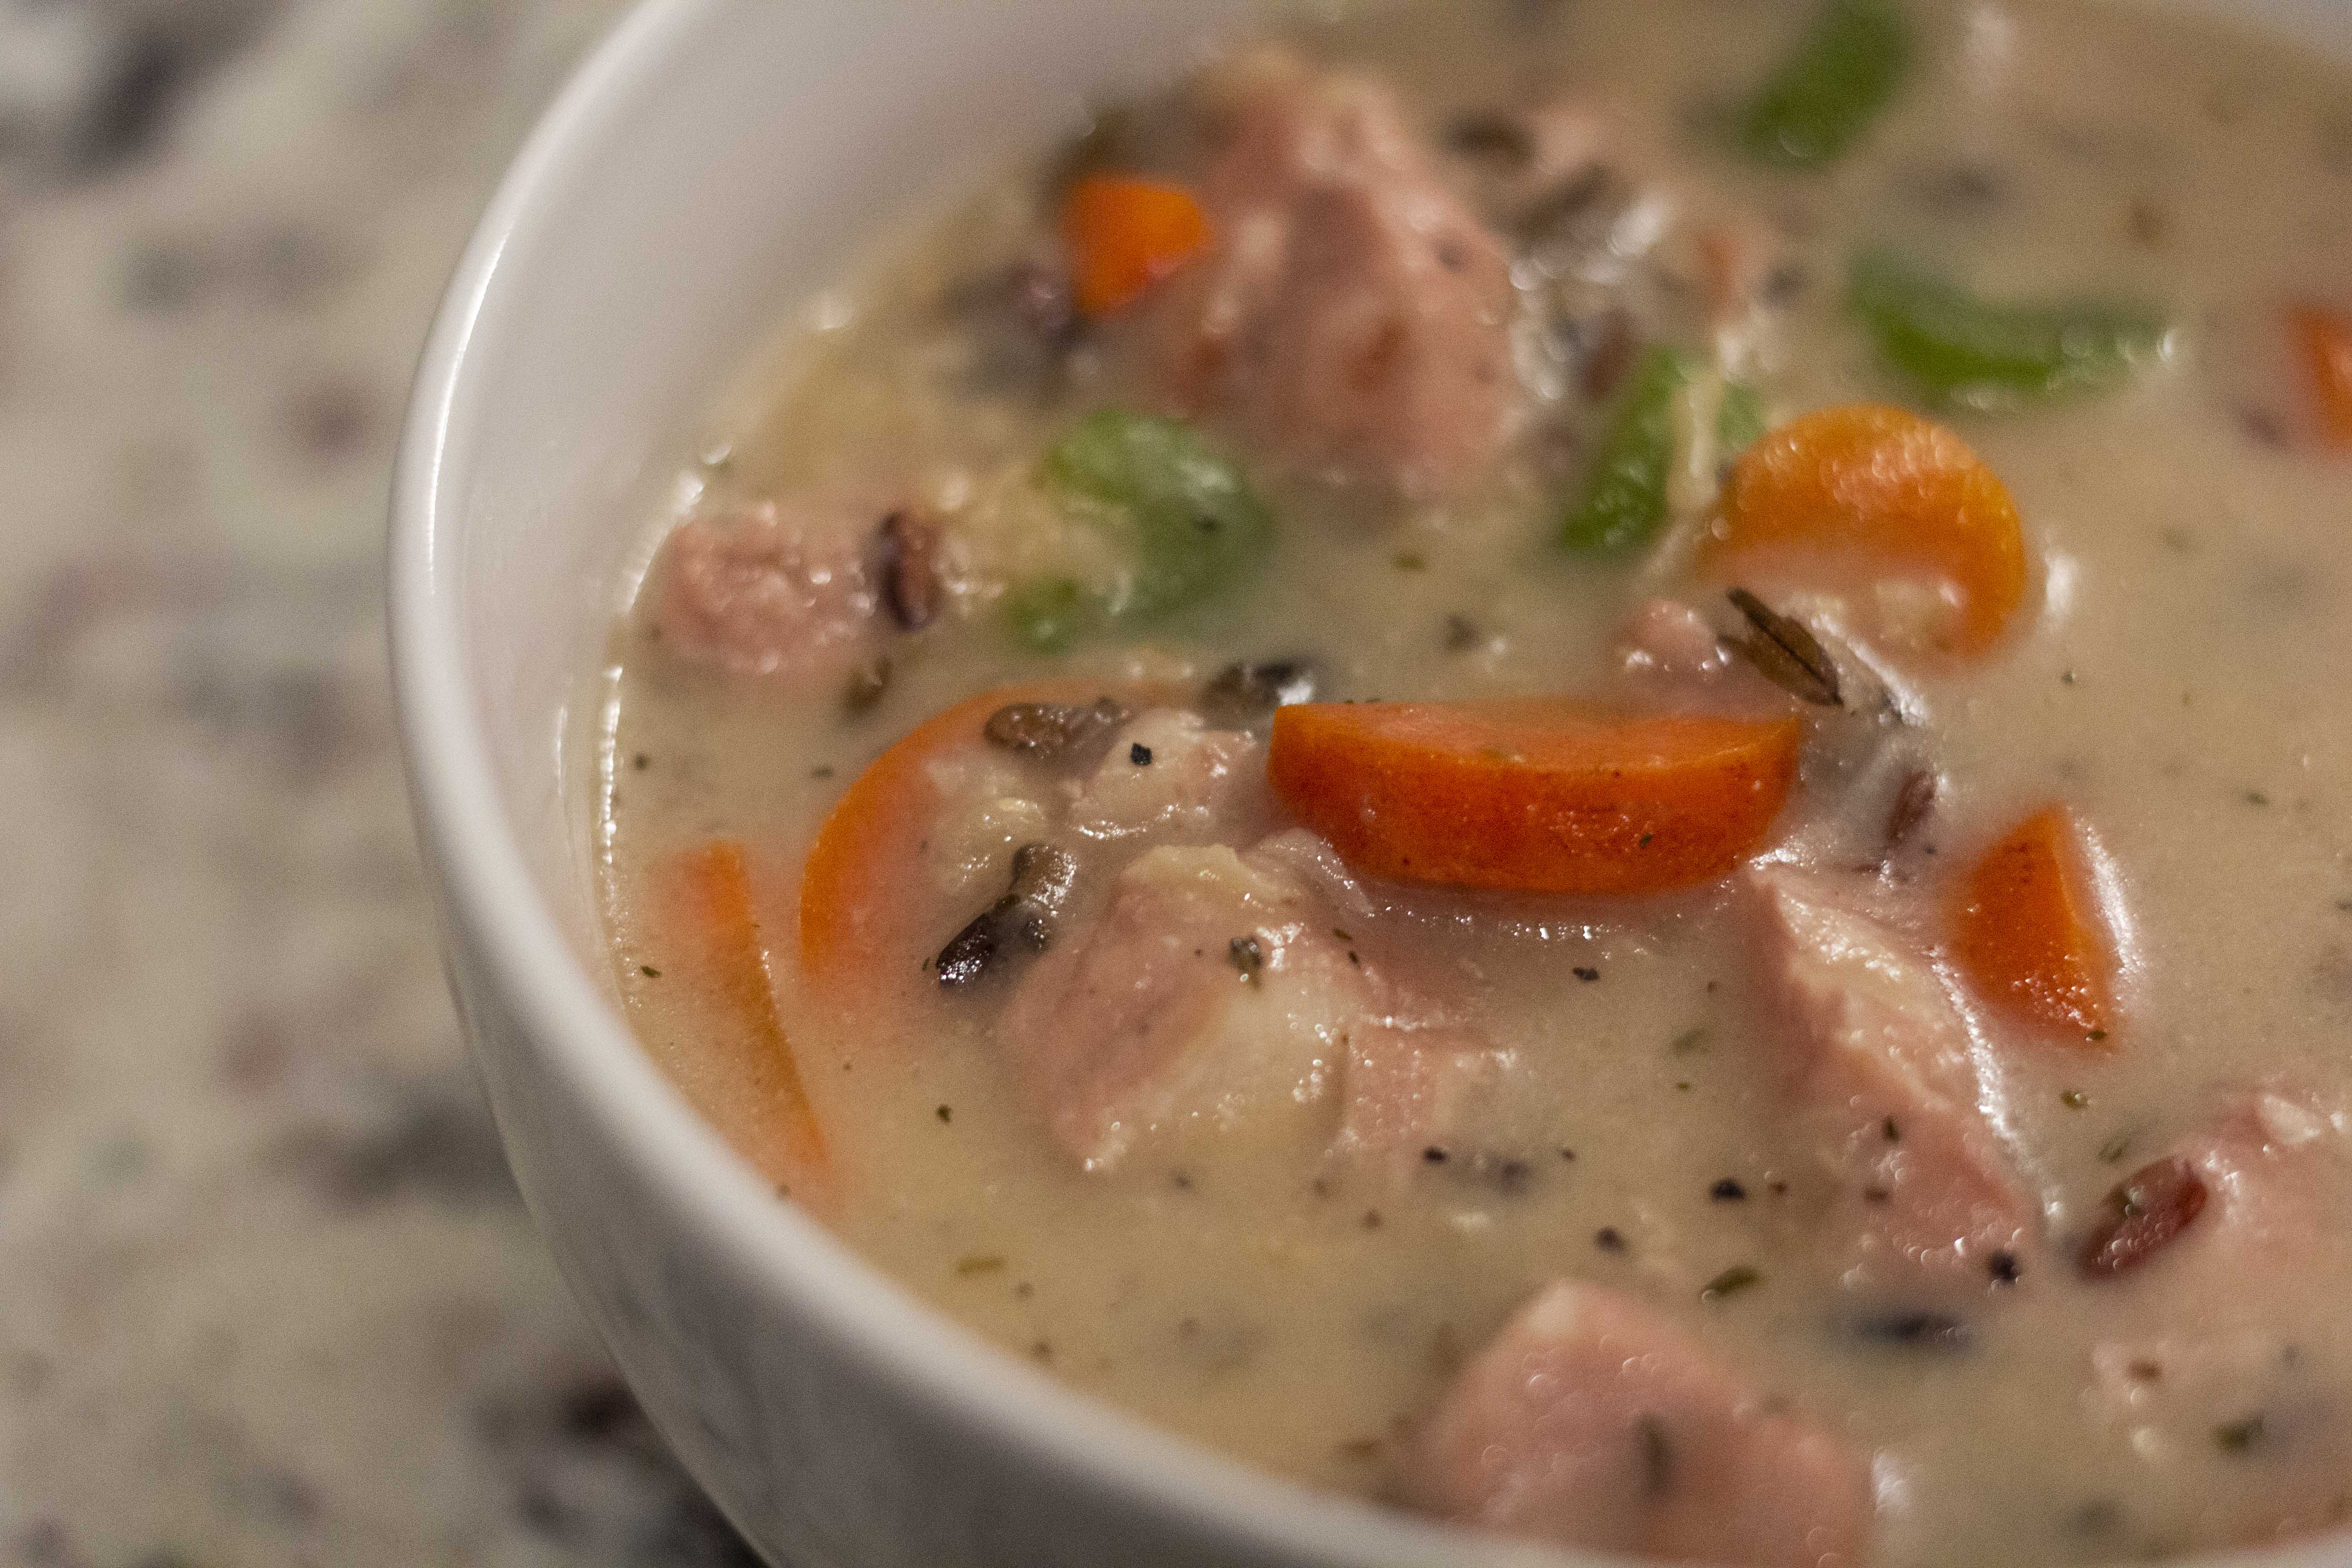
So this recipe is a bit of a departure from the photo. Yes, they really just show three pictures of meat stew with varying degrees of large chunks. But I didn’t want to bore you or your tastebuds with a new take on my new favorite stew recipe. And since Link himself can make this with bird, let’s go along that route and make a thick, creamy chicken and wild rice soup.

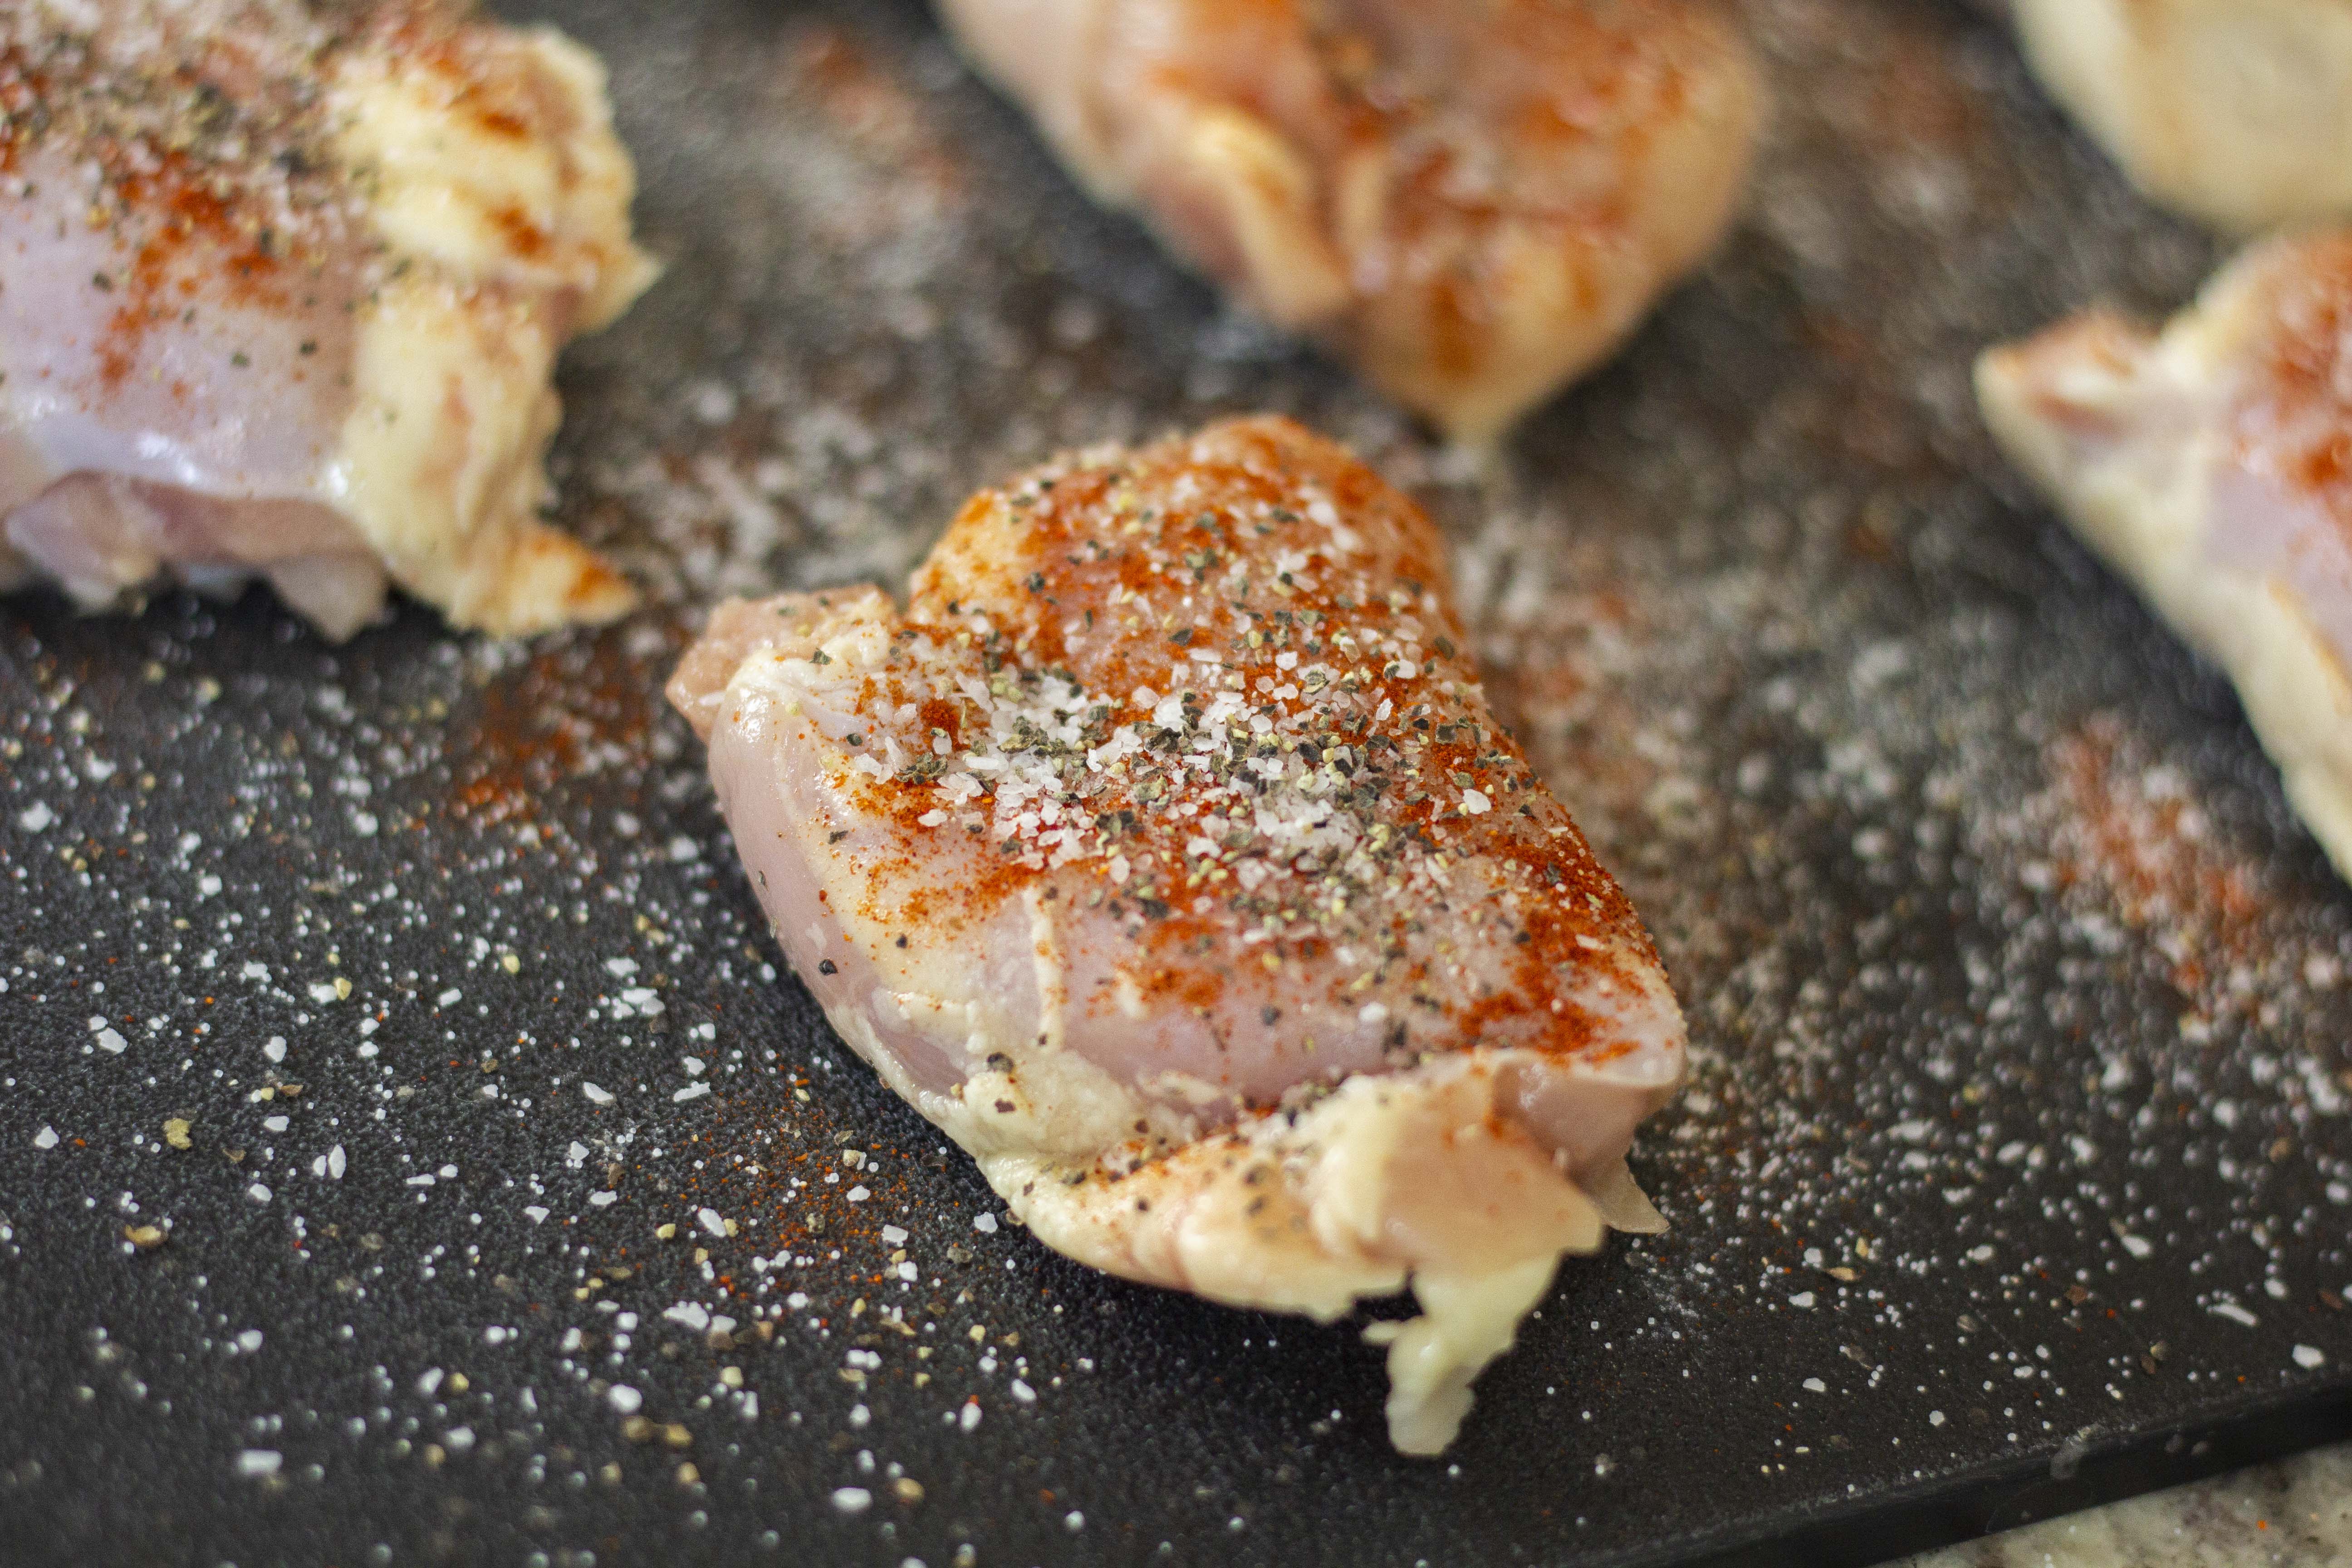
I start with chicken breast. I mean, yes, the recipe calls for drumstick, but who has time to scrape meat off the drumstick bone? Certainly not me! So chop the chicken into 1 inch or smallerish pieces. Then dice your onion and get ready to cook!

Add some oil to the bottom of a large pot or (you knew I was going to say it) a dutch oven. Heat on medium high until hot. Add all your chicken at once, season with the salt and pepper, and cook until the outsides are nearly cooked, about 1-2 minutes. Add all the onion and stir together until the chicken is completely cooked on the outside, another 2 minutes max. This means no pink is showing on the outside, but they’ll definitely still be raw on the inside! We want that. It’ll mean the chicken with finish cooking with the rice and not get rubbery.

rice to the chicken

Add all the rice and stir and cook until the rice is fragrant, about 2-3 minutes. It’s really not that much. It should only have been about 5 minutes from the time we first started cooking the chicken.

chicken, broth, herbs

Add 4 cups of the chicken broth and the remaining seasonings, and bring to a nice, rolling simmer. Nothing too fancy, just enough to be considered a simmer. Cover and let it simmer for 1 hour 15 minutes. Yes, I did say that correctly, and yes, it’s very specific. We are walking a fine line between cooked rice and rubbery chicken. I’ve found that 1 hour 15 minutes is kinda that happy medium. If it goes a little long, I don’t think it’ll ruin the dish. If it goes a little short, I hope you’re okay with slightly underdone rice.

Meanwhile, chop the carrots and the celery. Add them all at once with another cup or two of the chicken broth at the end of the 1.25 hours. Bring to a simmer and then check for seasoning. Add more of anything (but mostly the salt and pepper) at this time.

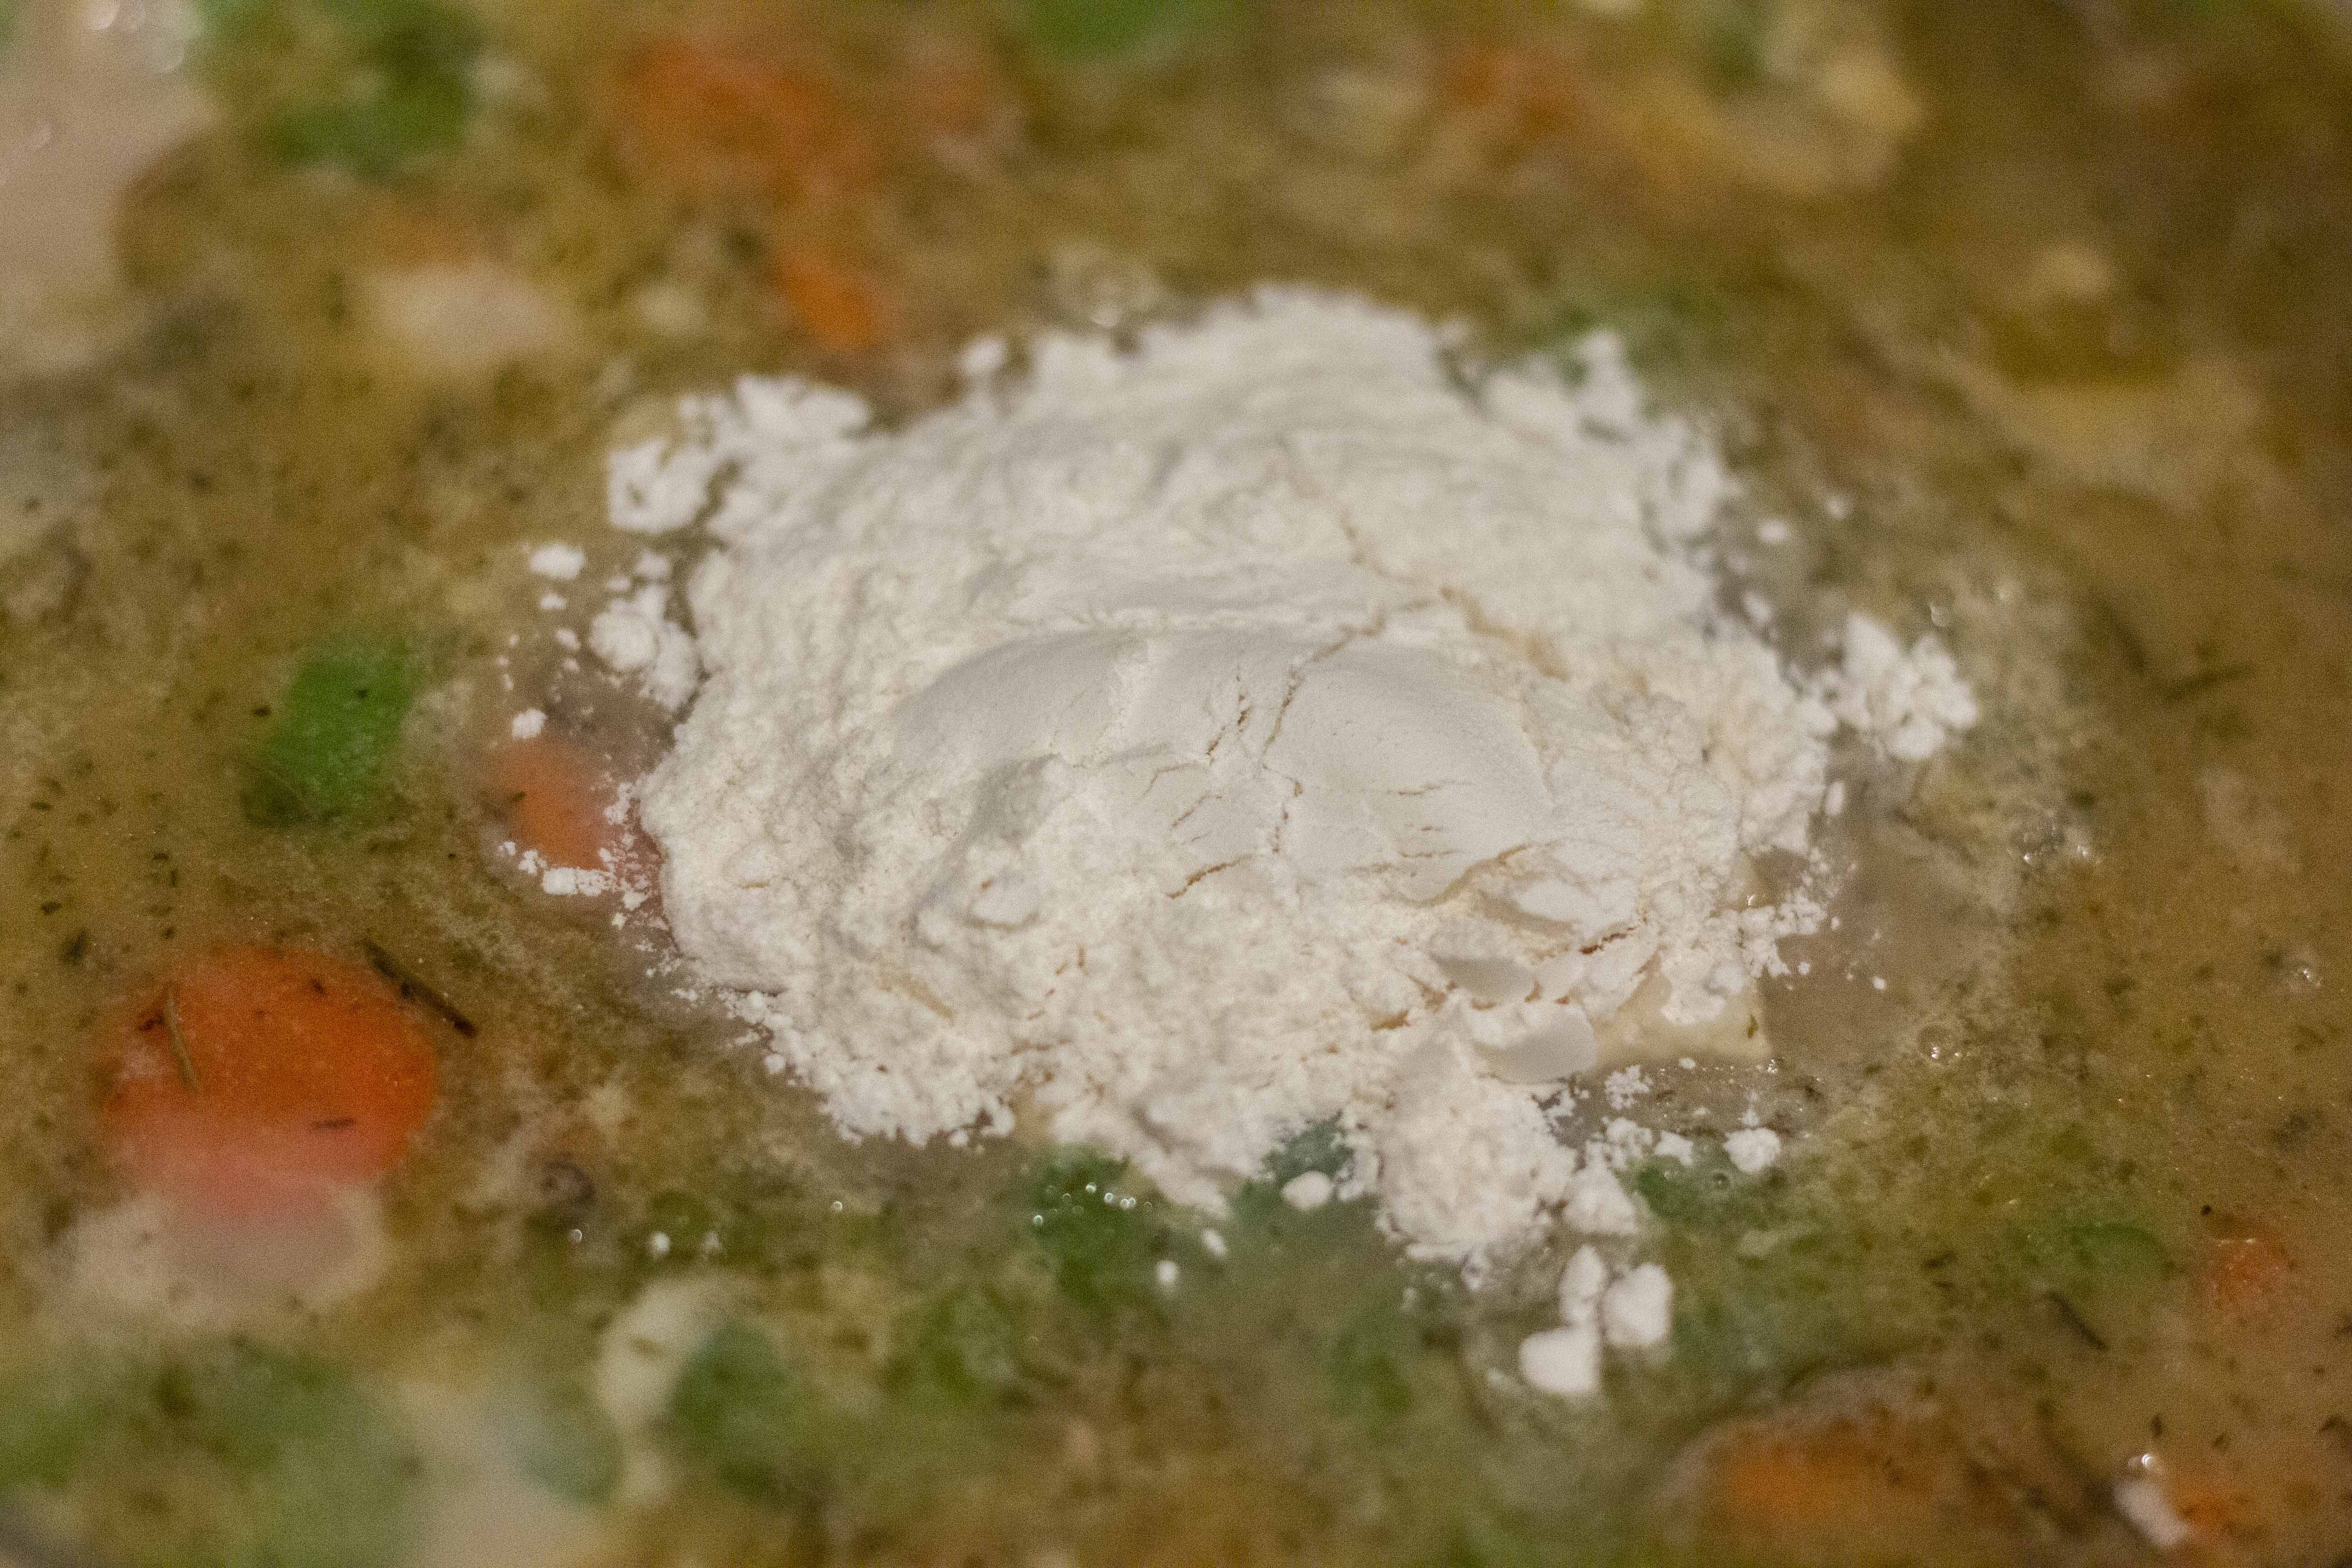
Then add the milk and flour. Whisk the soup together until all the flour is completely mixed in with no lumps. Allow to simmer and thicken for 10 minutes, or until the carrots are soft. Serve in your favorite winter bowls and enjoy!

close up

Meat Stew

  • Servings: 5
  • Difficulty: moderately easy
  • Print

Creamy Chicken and wild rice stew with carrots and celery

Ingredients

  • 2 large chicken breasts (about 1.5 pounds)
  • 1 medium yellow onion
  • 1 cup wild rice
  • 5-6 cups chicken broth
  • 3 medium carrots
  • 2 celery stalks
  • 1 cup milk
  • 1/4 cup all-purpose flour
  • 1 tablespoon kosher salt (or more to taste)
  • 1 teaspoon black pepper (or more to taste)
  • 1 teaspoon thyme
  • 1 teaspoon rosemary
  • 1/2 teaspoon oregano
  • 1 teaspoon garlic salt or garlic powder
  • 2 teaspoons vegetable (or other) oil

Directions

  1. Dice the chicken into 1 inch pieces.
  2. Dice the onion
  3. Add oil to the bottom of a large pot or dutch oven. Heat on medium high until hot.
  4. Add all the chicken at once, season with the salt and pepper, and cook until the outsides are nearly cooked, about 1-2 minutes.
  5. Add all the onion and stir together until the chicken is completely cooked on the outside, another 1-2 minutes.
  6. Add all the rice and stir and cook until the rice is fragrant, about 2-3 minutes. It should only be about 5 minutes from the time we first started cooking the chicken.
  7. Add 4 cups of the chicken broth and the remaining seasonings, and bring to a rolling simmer.
  8. Cover and let simmer for 1 hour 15 minutes.
  9. Chop the carrots and the celery while the stew is cooking.
  10. Add them all at once with another cup or two of the chicken broth at the end of the 1.25 hours. Bring to a simmer and check for seasoning, particularly salt and pepper.
  11. Add the milk and flour. Whisk the soup together until all the flour is completely mixed in with no lumps.
  12. Allow to simmer and thicken for 10 minutes, or until the carrots are soft. Serve in your favorite winter bowls and enjoy!

Prime Meat and Rice Bowl

Prime Meat and Rice Bowl

When I was a kid my cousins lived within a few blocks from us and nearly every Sunday was spent with them at our house or us at theirs for dinner.  And my very favorite thing my cousin made was homemade teriyaki chicken.  Delicious, incredible teriyaki chicken.  It was so good, and so special to her, that we called it Brenda-yaki chicken in honor of her.  Seriously.  It even says Brenda-yaki Chicken on my recipe card.  And I’m thrilled to share it with you because you’re going to love it, too!  You’ll like it.  So much that maybe you’ll call it *pause for dramatic effect* Teri-yaki chicken…

Prime Meat and Rice Bowl
time and difficulty

So lets start with the rice.  Honestly, this takes the longest, so lets get it going!  It’s just like the way we make rice in the Meat and Rice Bowl.  Simply add rice to the rice cooker, rinse several times, and add water until it covers up to the first joint in your pointer finger over the rice.  Turn it on.  And leave.  I really don’t know what I’d do without a rice cooker.

Next we need to cut the green onions into 1 inch-long strips.  Doesn’t have to be pretty, but it does need to come first.  You see, you could cut the chicken first and then cut the green onions, but you’d have to either dirty another knife and cutting board OR wash this one in between.  Let’s get real, folks, dishes are the worst.  So instead of taking all those extra steps (and in the name of food safety and Salmonella-less summers) we cut the onions and then the chicken!

Third, trim the excess fat off the chicken then slice it into strips about 1/2 inch wide and any length long.  That one’s a personal preference.  Now, let’s get real, I’m using boneless chicken thighs not because I prefer them, but because they’re what the recipe calls for.  You want it to be prime?  Gotta be chicken thighs.  So if you’d like to use chicken breasts, be my guest!  Though, now that I’ve used it, I may never go back – they were absolutely juicy and delicious!  I think I understand now why people sing the praises of thigh meat…

Okay – Focus!  Fourth is make the sauce.  Its pretty easy.  Measure out the sugar, soy sauce, and garlic powder into a container.  Stir until combined, taste for garlic adjustments (I like my garlic to be strong!) and allow to sit, stirring occasionally, to dissolve the sugars.

all the ingredients

And now, once the rice is done and on the “warm” setting, of course, we cook.  Why do we wait until the rice is done?  Because this takes about 6-7 minutes to cook and you don’t want to wait for your rice to finish while your chicken is getting cold.

Remember that wok I told you to buy?  Well it would sure come in handy about now!  Let’s pull it out, shall we?… Oh wait… you didn’t buy it?… Fine.  Be that way.  Well you can easily make this recipe in a pan.  Would it be better in a wok?  Of course, don’t be ridiculous.  But you can do it in a pan just fine.  Just follow all the steps like normal, then sit in a corner and think about what you’ve done.

boiling sauce
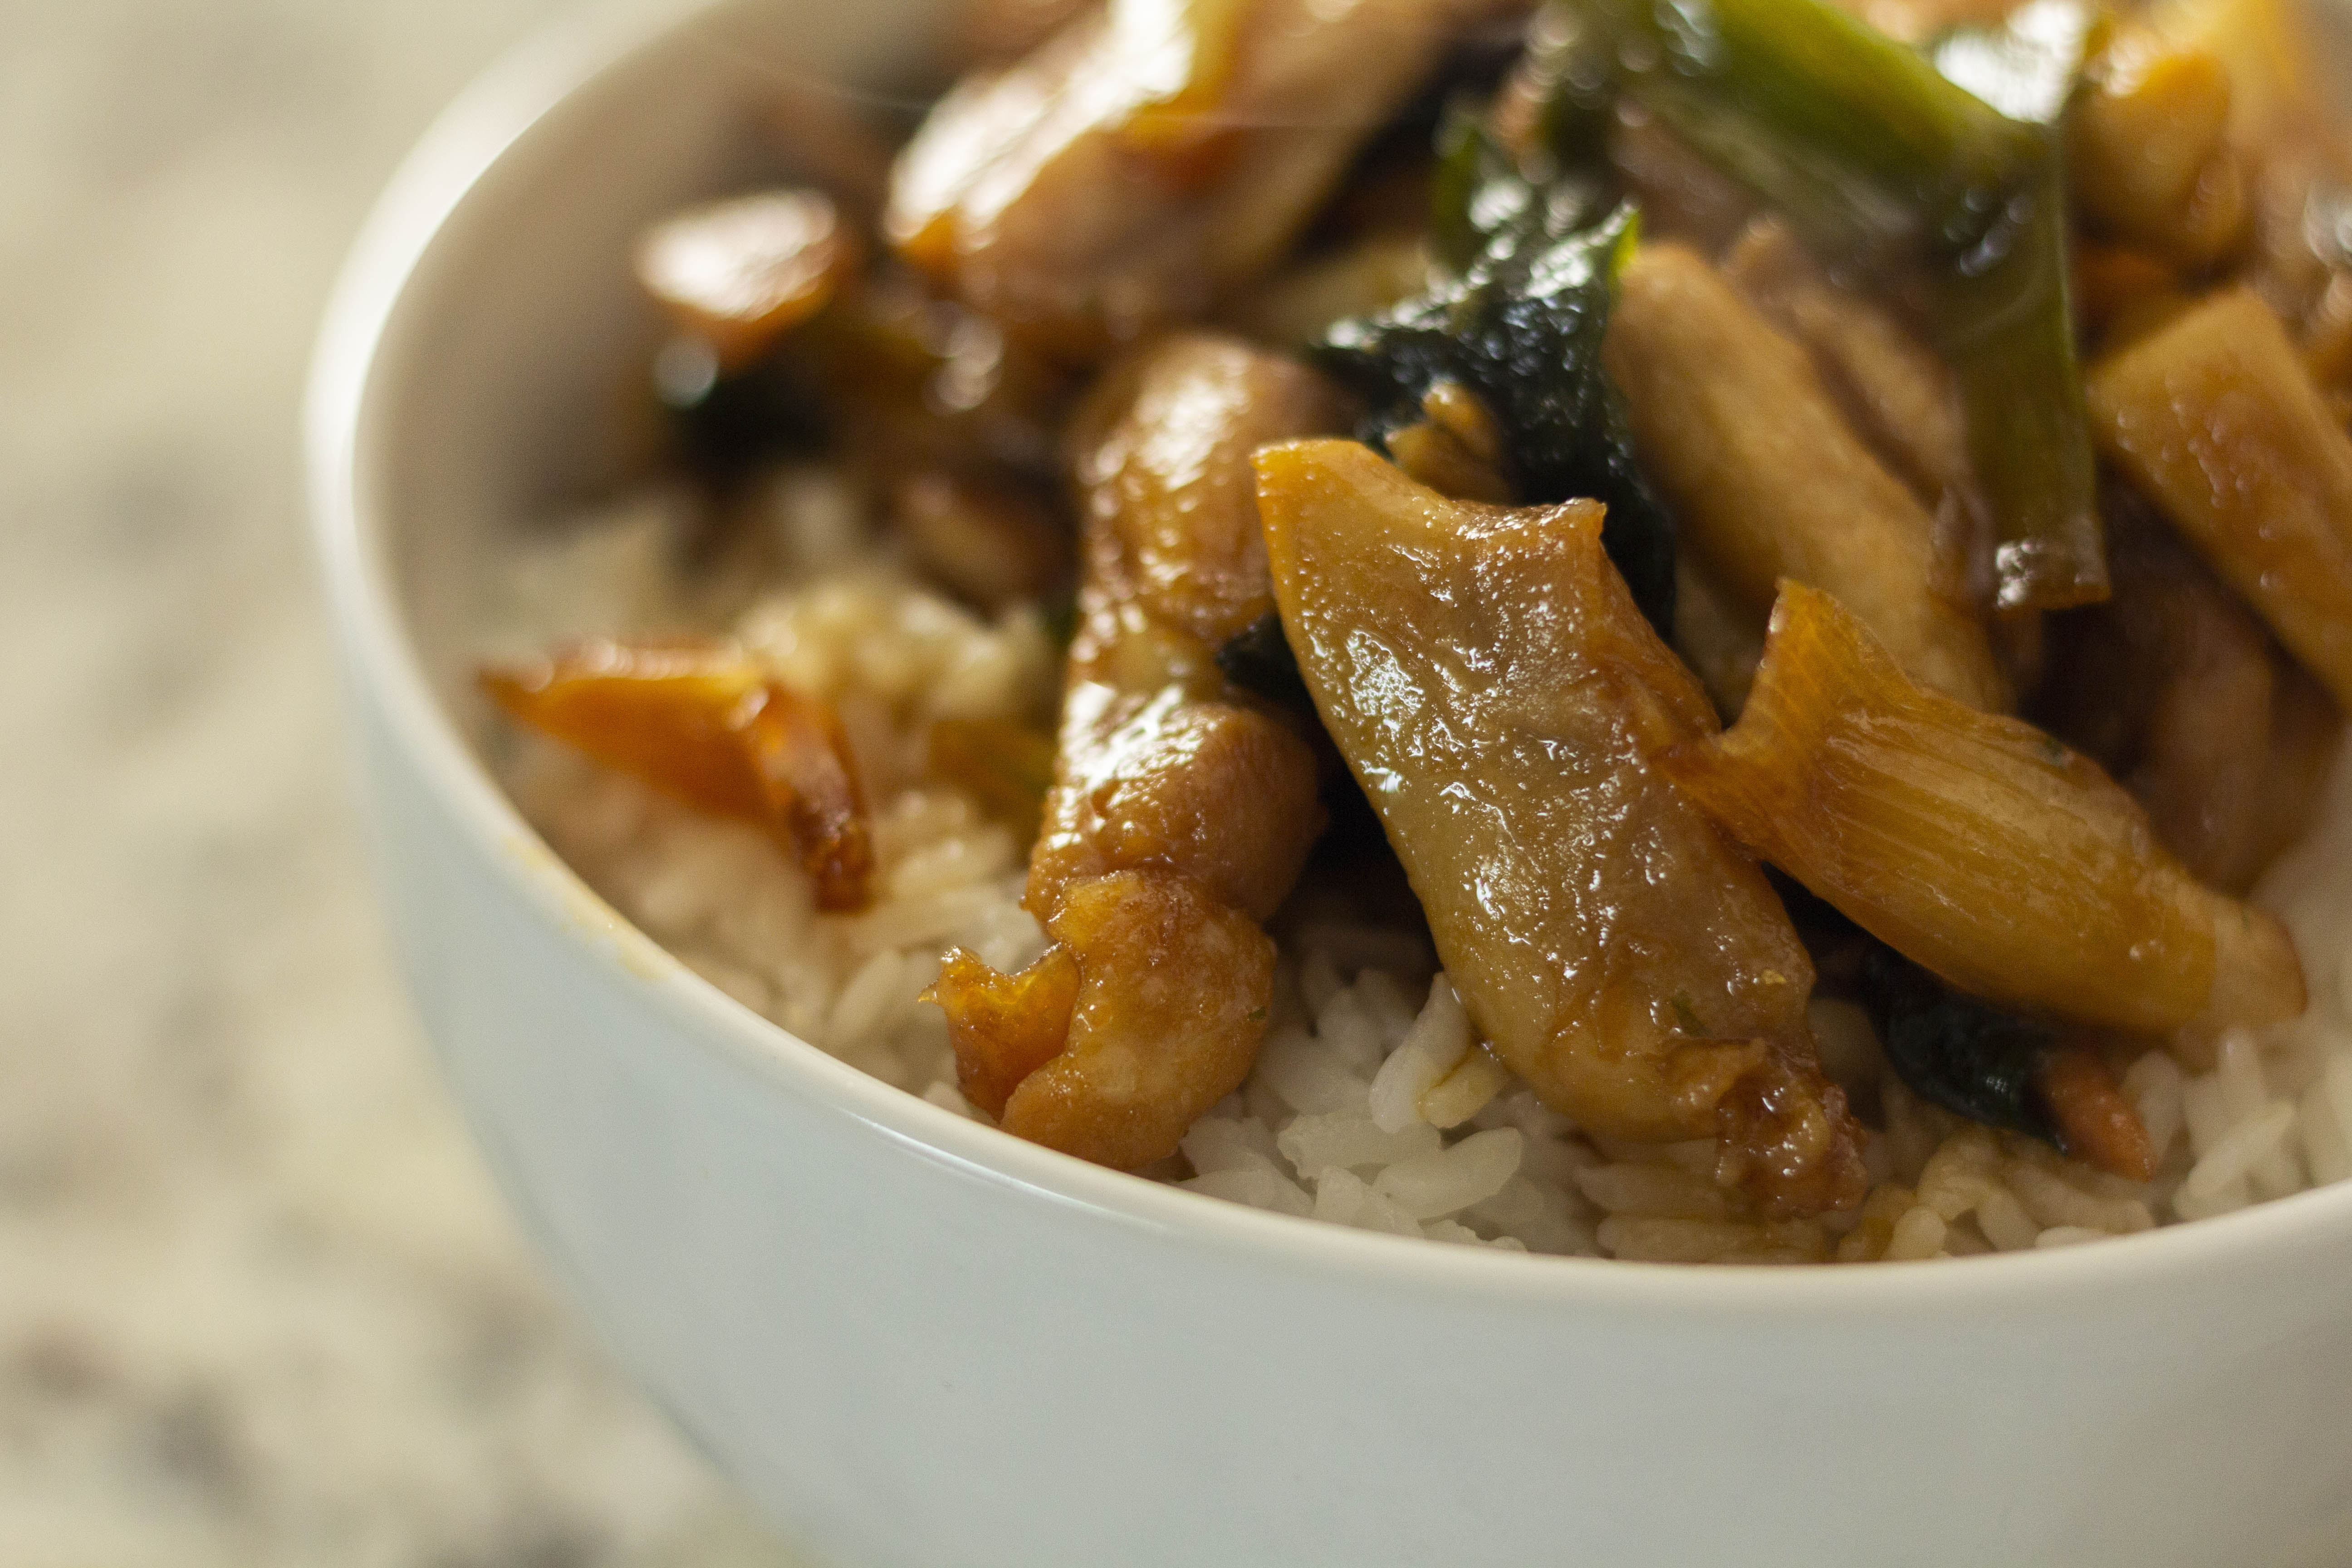
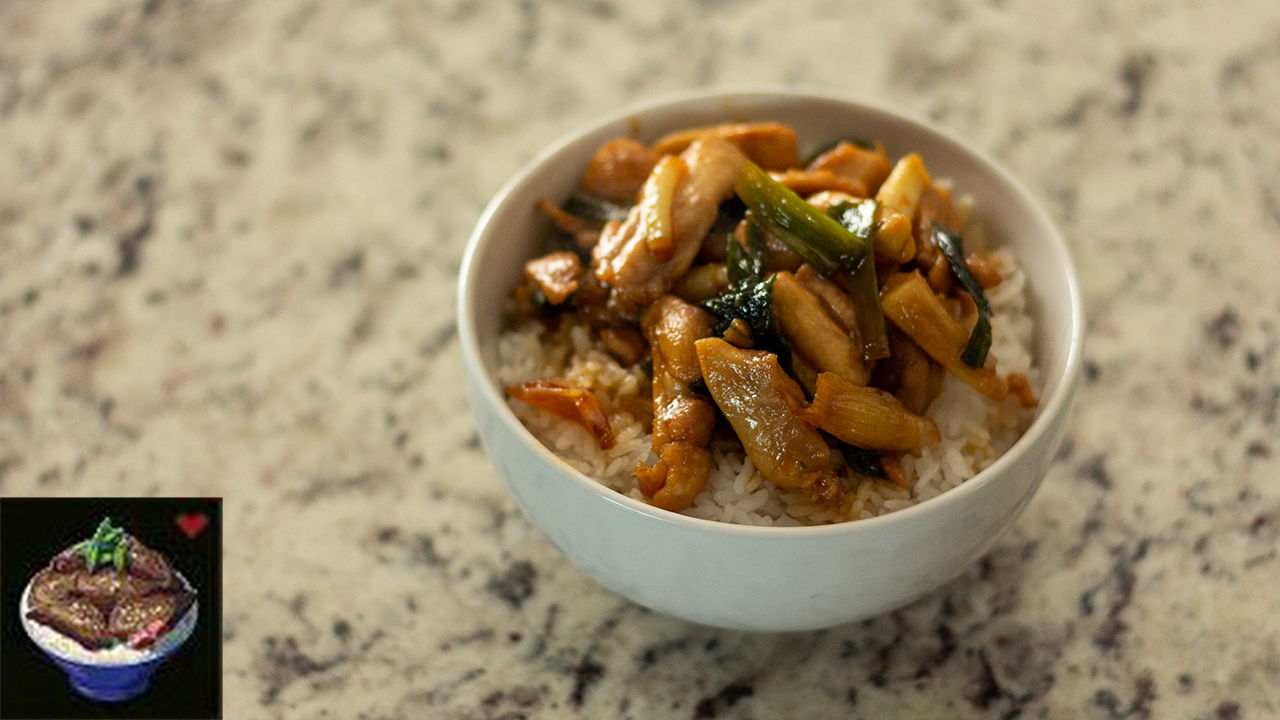
Add oil to the pan/wok and half the green onions.  Turn the heat on high, as high as it’ll go (for a wok) or medium high (for a pan) and wait until the onions start popping.  Add the chicken, sprinkle on the salt, and cook, stirring constantly, for 3 minutes, or until they’re no longer pink on the outside.  Add the remainder of the green onions and all of the teriyaki sauce (which, if you kept stirring it, should have all the sugar dissolved).  Stir until everything is coated and allow to boil and cook for 3 more minutes, or until the sauce starts to thicken.  Be warned, if you cook this in a pan, you’ll want to do it in a tall pan (maybe even a pot).  The sauce foams like crazy when it boils and it’ll grow to about double it’s height.  Don’t believe me?  Check out the photo.

teriyaki chicken detail

When the sauce is thickened turn off the heat, serve over rice, and enjoy!

Link’s Prime Meat and Rice Bowl recipe:

        • Raw Prime Meat or Raw Bird Thigh
        • Hylian Rice
        • Rock Salt

Prime Meat and Rice Bowl

  • Servings: 2
  • Difficulty: easy
  • Print

Chicken Teriyaki with homemade sauce

Ingredients

  • 4 chicken thighs, boneless
  • 1 bunch (5-6) green onions
  • 1.5 teaspoons kosher salt
  • 1 cup soy sauce
  • 3/4 cup sugar
  • 1.5 teaspoons garlic powder
  • 1/3 cup canola or vegetable oil
  • 2 cups sushi (Calrose) rice
  • enough water to cover the rice

Directions

  1. Rinse 2 cups of rice several times and then add to a rice cooker. Add water until the level is up to your first knuckle on your pointer finger when your finger is resting on top of the rice.
  2. Start the rice cooker
  3. Cut the green onions into 1 inch-long strips.
  4. Trim the excess fat from the chicken then it into strips about 1/2 inch wide and any length long. I prefer 2 inches long.
  5. Make the sauce by adding the sugar, soy sauce, and garlic powder in a container.  Stir until combined, taste for garlic adjustments and allow to sit, stirring occasionally, to dissolve the sugars.
  6. When the rice is cooked heat a wok on high or a pan/pot on medium high.
  7. Add oil to the pan/wok and half the green onions.
  8. Add the chicken, sprinkle on the salt, and cook, stirring constantly, for 3 minutes, or until they’re no longer pink on the outside.
  9. Add the remainder of the green onions and all of the teriyaki sauce (which, if you kept stirring it, should have all the sugar dissolved).
  10. Stir until everything is coated and allow to boil and cook for 3 more minutes, or until the sauce starts to thicken.  Be warned, if you cook this in a pan, you’ll want to do it in a tall pan or pot as the sauce foams like crazy when it boils and it’ll double it’s height.
  11. When the sauce is thickened turn off the heat, serve over rice, and enjoy!

Prime Poultry Pilaf

Prime Poultry Pilaf

As a working mom I am incredibly fond of easy make, easy clean up meals.  While I wish I could spend 5 hours making dinner every night, with fantastic results, I usually only have about an hour MAX to throw toward my favorite meal of the day.  And this recipe was so easy, and had so little hands-on time, it may become a new mid-week staple at our house.  Hey, if it’s good enough for Link, it’s good enough for me!

Prime Poultry PilafHeader and Meter

Start by taking the chicken out of the fridge about 10 minutes before you cook it.  Frankly, as a microbiologist, I cannot condone taking chicken out any earlier than that.  If you wanna know how I feel about poultry, as a microbiologist, find me on the twitter or the instagram…   But we do want to take the chill off the chicken before we cook it.  So 10 minutes is probably good.

seasoned chicken

Now here’s the normal drill: pat the chicken dry with a paper towel, rub with spices, and get ready for the most chill and delicious meal I’ve posted in a long, llloonnngggg time.

First and foremost, the easiest way to make this recipe is with a pan that can be used both on the stove and in the oven.  Cast iron, enameled cast iron, even some stainless steel pans can be used on the stove and in the oven.  I use an enameled cast iron pan for this and it made both making it and cleaning up a piece of cake.  If you don’t have anything that’ll work for both simply use a pan on the stove for the first part and we will get to the second part later.  But if you can possibly invest in an enameled cast iron braiser or pan, trust me, it’s worth it.

Second and secondmost, you’ll want to use a long grain, non-sticky rice for this recipe.  While I pledge my heart and soul to calrose sushi rice it simply doesn’t work for rice pilaf.  Jasmine rice or even long grain brown rice would work really well in this particular recipe.

Heat the oil in your chosen pan on medium.  When the oil is hot gently add the chicken by laying it away from you to prevent splashes.  Cook for 2-3 minutes, depending on the thickness of the thigh.  Turn the chicken and cook for another 2-3 minutes.  Using the side of your pan, lay the thighs up on each side for 1-2 minutes to sear in all the liquid.  You can do this by leaning them against each other and the side of the pan, then switching sides and repeating until all 6 sides (4 edges, 2 big sides) are seared.  Remove the chicken from the pan and place on a plate.

Add the chopped onion to the oil in the pan and cook until it begins to sweat, about 2-3 minutes.  At that point add the orzo pasta and continue stirring and cooking until the pasta begins to change color to a light brown, about 2 minutes.  Add the rice and cook until the rice is glistening, about 2-3 minutes.  Add about 1/4-1/3 cup of the chicken stock  and scrape hard at the bottom of the pan to deglaze it.  This will ensure all the delicious flavor (called fond) stuck at the bottom will be in your broth.  Add the remaining chicken stock and spices and stir.  Heat until simmering, stirring periodically.

add the chicken to the rice

Once the liquid is simmering gently lay the chicken on top of the rice mixture.  You want the chicken to rest on top of the rice, so gently is the key here.  Place the lid on the pan and put in the oven.  Bake for 30 minutes.  If you’re one of the poor, unfortunate souls (in pain, in need) who doesn’t have a pan that can transition between the stove and the oven oil an oven-safe pan that has a lid and transfer the liquid and rice to the pan.  Lay the chicken on top of the rice, cover, and place in the oven to bake.  This method may take 35-40 minutes to cook, because the pan isn’t hot going into the oven.  But don’t check the rice until 30 minutes.  At that point, if there is still liquid left, simply bake uncovered for 5-10 minutes until the liquid is gone.

check the rice

While the rice is cooking scramble an egg or two.  It’s as easy as heating up a small pan with the butter, adding two eggs, and pushing the eggs around until they’re set but not overcooked.  You got this.

After 30 minutes open the lid and check the rice for done-ness.  There should be no more liquid remaining and the rice should be nice and fluffy.  If you are worried about the chicken being cooked all the way through simply test it using an instant read thermometer.  The thighs should be at 165°F.  Add the eggs to the rice, mix, and fluff.  Serve with a side of veggies and enjoy!

chicken close up

Link’s Prime Poultry Pilaf recipe:

      • Raw Bird Thigh
      • Hylian Rice
      • Bird Egg
      • Goat Butter

Prime Poultry Pilaf

  • Servings: 5
  • Difficulty: moderately easy
  • Print

One-pot chicken thighs with rice pilaf

Chicken

  • 5 chicken thighs, can be with or without bones
  • 2 teaspoons paprika
  • 2 teaspoons garlic salt
  • 1.5 teaspoons kosher salt
  • 1 teaspoon black pepper

Rice

  • 1 small onion
  • 1/4 cup orzo pasta
  • 1 3/4 cup long grain rice, such as Jasmine rice
  • 3.5 cups chicken stock
  • 2 teaspoons kosher salt
  • 1 teaspoon black pepper
  • 2 teaspoons ground mustard

Directions

  1. Pre-heat the oven to 350°F.
  2. Take the chicken out of the fridge about 10 minutes before you cook it.
  3. Pat the chicken dry with a paper towel and rub with the spice rub.
  4. Heat the oil in a cast iron pan, or any pan that can be placed in the oven with a lid.
  5. When the oil is hot gently add the chicken by laying it away from you to prevent splashes.  Cook for 2-3 minutes, depending on the thickness of the thigh.  Turn the chicken and cook for another 2-3 minutes.  Using the side of your pan, lay the thighs up on each side for 1-2 minutes to sear in all the liquid.  You can do this by leaning them against each other and the side of the pan, then switching sides and repeating until all 6 sides (4 edges, 2 big sides) are seared.  Remove the chicken from the pan and place on a plate.
  6. Add the chopped onion to the oil in the pan and cook until it begins to sweat, about 2-3 minutes.
  7. Add the orzo pasta and continue stirring and cooking until the pasta begins to change color to a light brown, about 2 minutes.
  8. Add the rice and cook until the rice is glistening, about 2-3 minutes.
  9. Add about 1/4-1/3 cup of the chicken stock and scrape hard at the bottom of the pan to deglaze it.  Add the remaining chicken stock and spices and stir.  Heat until simmering, stirring periodically.
  10. Once the liquid is simmering gently lay the chicken on top of the rice mixture. Place the lid on the pan and put in the oven.
  11. Bake for 30 minutes.
  12. While the rice is cooking heat up a small pan with the butter. When the butter begins bubbling add the two eggs and cook, stirring continually until they’re set but not overcooked.
  13. After 30 minutes open the lid and check the rice for done-ness.  There should be no more liquid remaining and the rice should be nice and fluffy.  If you are worried about the chicken being cooked all the way through simply test it using an instant read thermometer.  The thighs should be at 165°F.  Serve with a side of veggies and enjoy!