Happy Thanksgiving, everyone. Here in the U.S., and especially for me, this holiday is all about food. Growing up, my mother would get up at an ungodly hour (for a holiday) to make everything from scratch on Thanksgiving day. We’d tumble out of bed and start to help out when we could. Now, as an adult, it’s become a tradition to get up as early as mom and stand around the table as she teaches us how to properly make pie crust, make stuffing from scratch, and roast a 30 pound(ish) turkey. Thanksgiving for my family was about passing on the traditions of cooking, of learning and honoring those who came before you with family recipes and family stories shared over an entire day of cooking and eating together. It’s the best way I know how to truly observe this holiday – with thankful hearts toward the people in my past who have made this holiday possible.
This year, that also means you guys, the faithful blog readers. I feel so blessed and honored that so many people follow my blog and comment on my posts. I feel lucky that I have the opportunity to learn how to better express myself through cooking. And I feel grateful so many of you are so supportive of me, in spite of my long breaks between posts and ghost status on social media lately. Thanks for all you do to help me become the best I can be! And, in honor of the from-scratch people who were up at the crack of dawn (I love you, mom!) to make dinner, here’s a reblog of my Thanksgiving turkey recipe – Salt-Grilled Gourmet Meat.
It’s the second of two Thanksgiving posts and the day is almost here, which means this recipe is just in time! So open this up, thaw your turkey (properly), and let’s make a turkey.
Raise of hands, how many of you have ever made a turkey before? Really? That few? Well don’t be intimidated. I promise it’s a lot easier than it sounds or looks. Quite frankly, it’s just like any other salt-grilled meat recipe we’ve already done, with a few adjustments, of course. And you’ll love the finished product. It’ll be picture perfect and deliciously juicy for all your guests/family!
Salt-Grilled Gourmet Meat
Now, you should have started thawing your turkey by now following the instructions provided with your turkey (they almost always come with instructions). It can take up to 4 days to thaw a turkey (depending on the size) in the fridge. If you need to speed up the process you can fill a sink with cold water and place the turkey in. Continue checking the water to make sure it doesn’t get too warm. Drain the water every 1/2 hour and refill with cold water again. Do this for roughly 8 hours. It’s easier to thaw in the fridge but in a pinch, this other way will work. Just whatever you do, please thaw it correctly! I don’t want to be responsible for any food poisoning here!

We start with what’s called a brine. Now, there are several ways to brine a turkey but I’ve chosen the easiest of them all. You have enough to do on Thanksgiving – no reason to make it harder. The brine with a turkey is the same principle as with pork – it tenderizes the meat and allows the juices to stay inside instead of the bird getting dry and gross. It also negates, with an extra step, the need for basting! That’s two time savers here people. We’re on a roll!
You’re going to need to remove the bird from the packaging and take out any extras they throw in for the really hard-core people a.k.a the giblets and the neck. Open the bottom of the turkey and they should be in there. It’ll be a long neck and a packet of weird mushy stuff. If the packet isn’t in there check where the neck is supposed to be attached. Sometimes they put it up there to be sneaky.
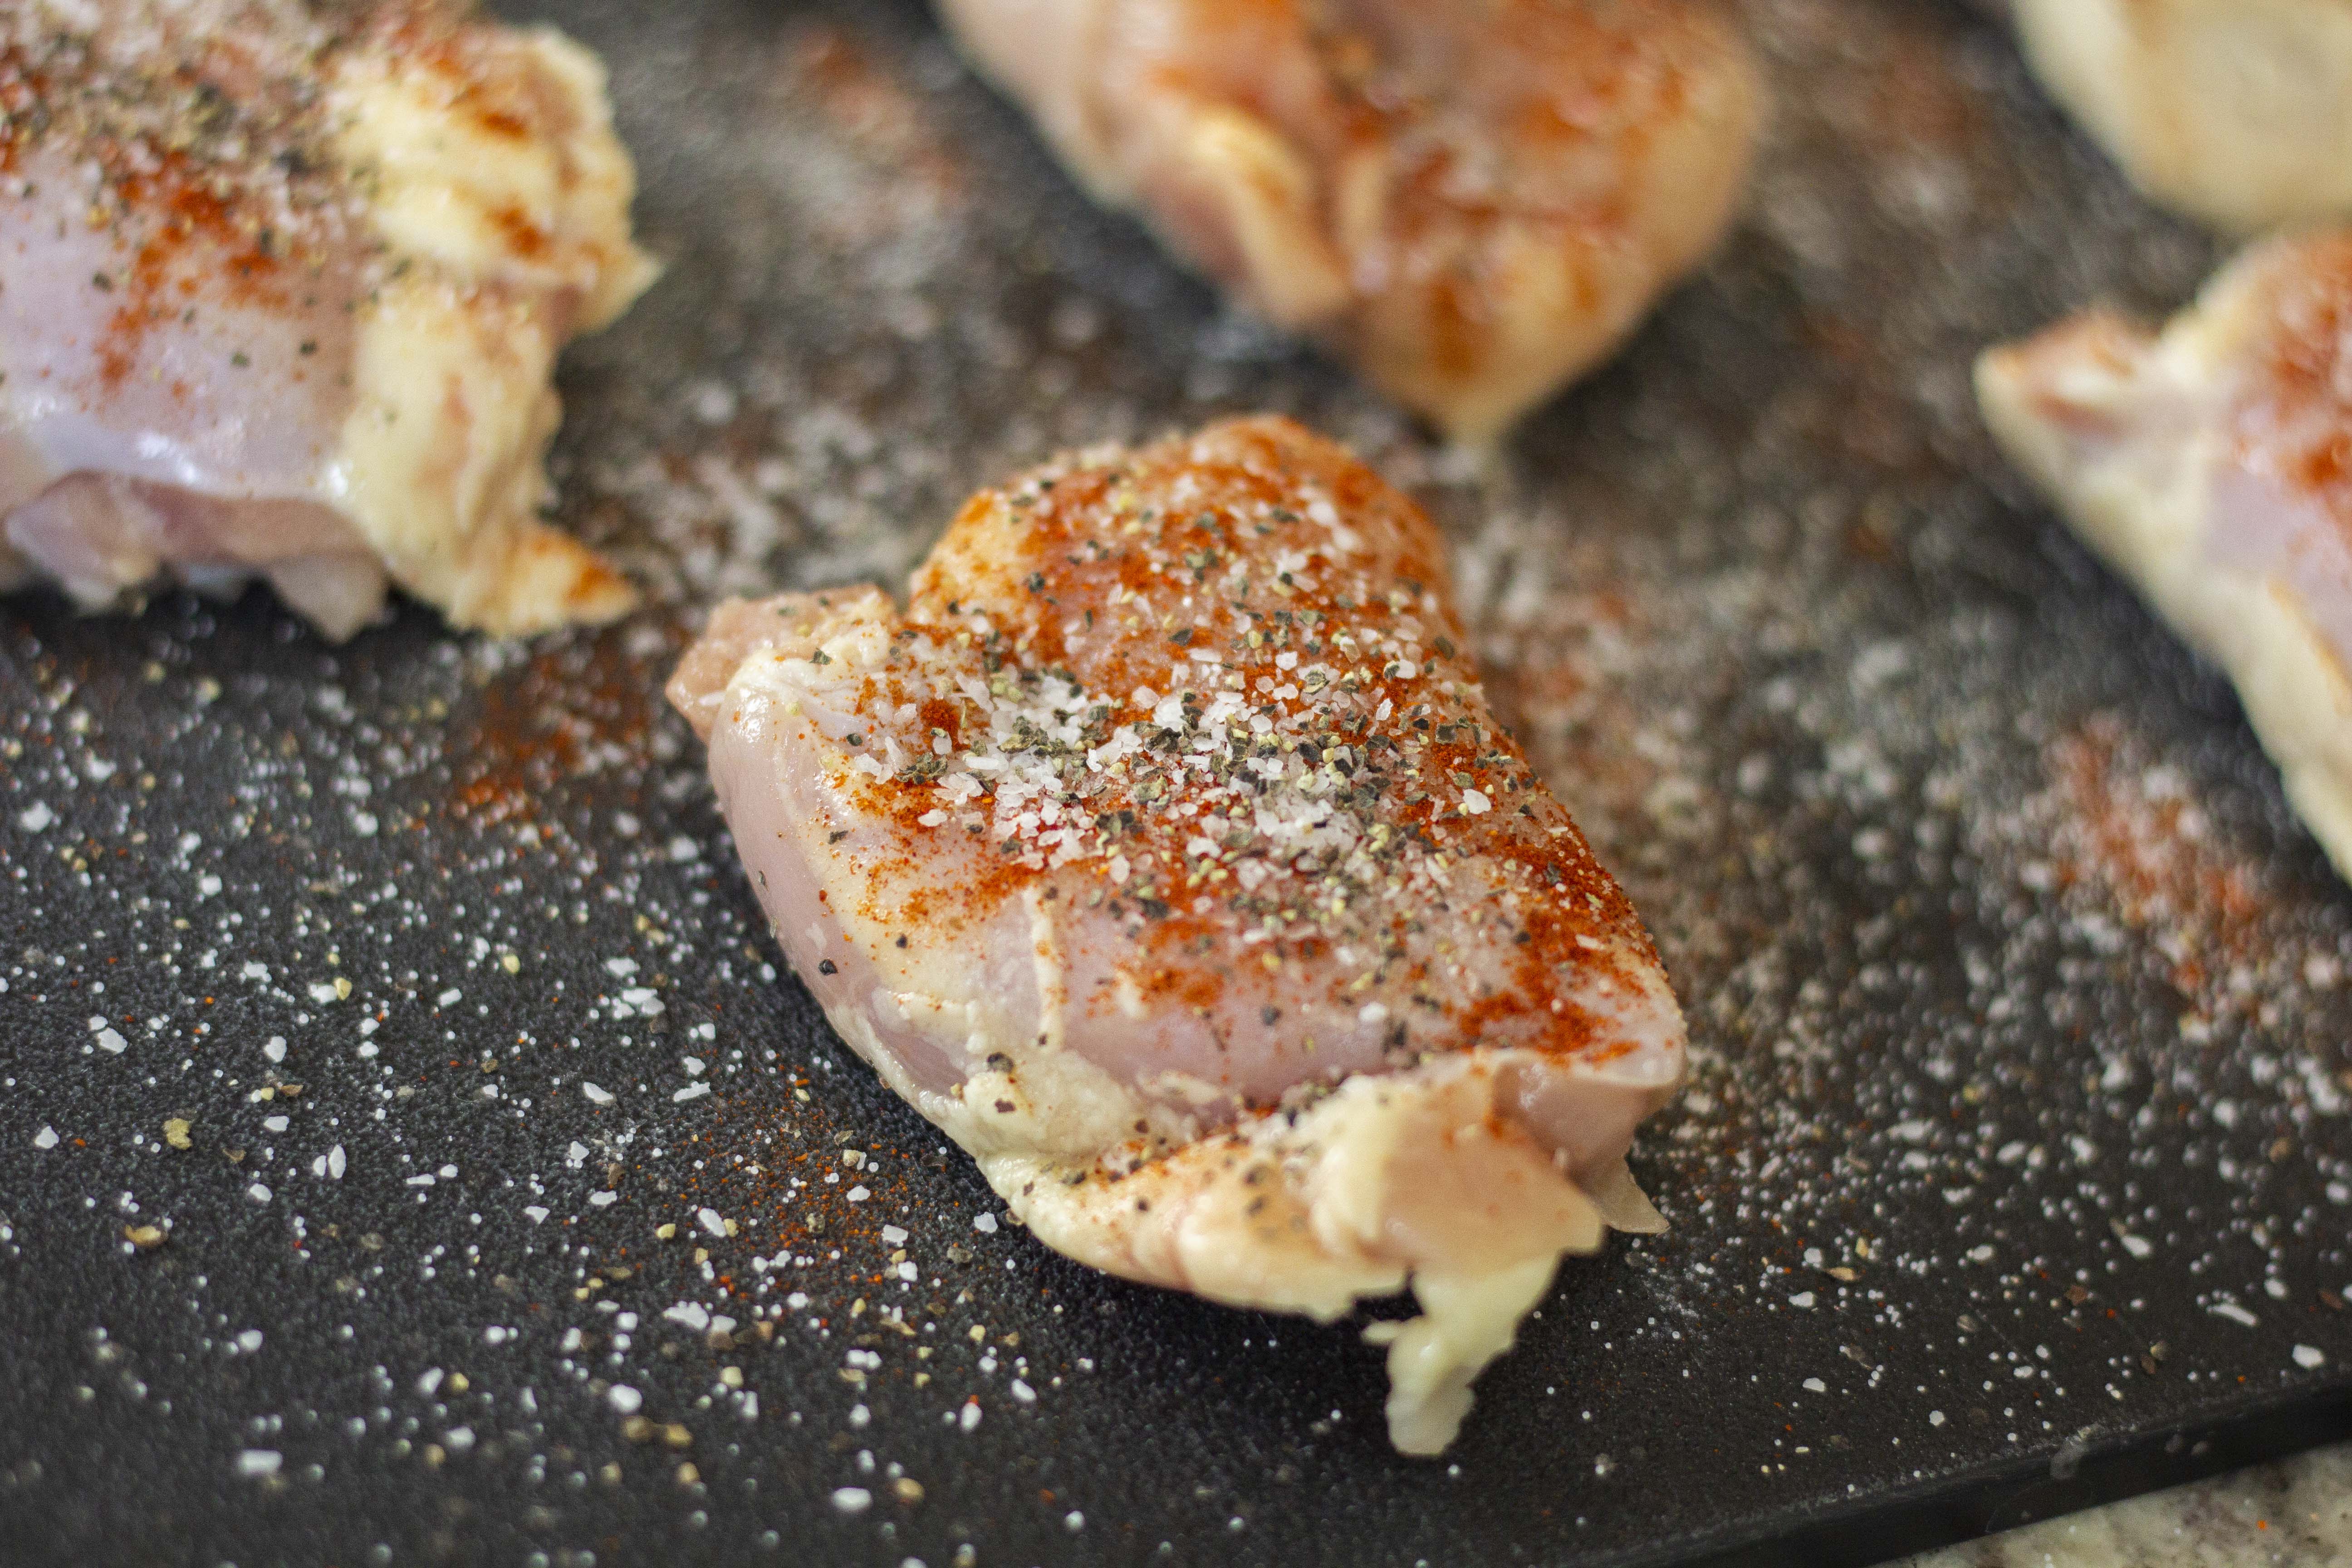
Once everything gross is out pat the turkey dry with paper towels and coat it with kosher salt and pepper. Be generous, it’ll help! Allow the turkey to sit, with the salt and pepper, at room temperature for 1 hour to take off the chill. The skin will be crispy and delicious if you do it that way.
While the turkey is warming up wash the sage and oregano or thyme, slice a medium onion into quarters, and remove the skin from 6 garlic cloves. Place these inside your roasting pan, or if you don’t have excess cash floating around to buy a new pan for one meal a year (like me) a normal 11X15 cake pan. If you want to get extra easy buy one of those disposable cake pans, like my mom does, and just throw it away when you’re done. Whatever will fit your turkey comfortably will work! Line the bottom of your pan with these ingredients, putting the onions in the corners.
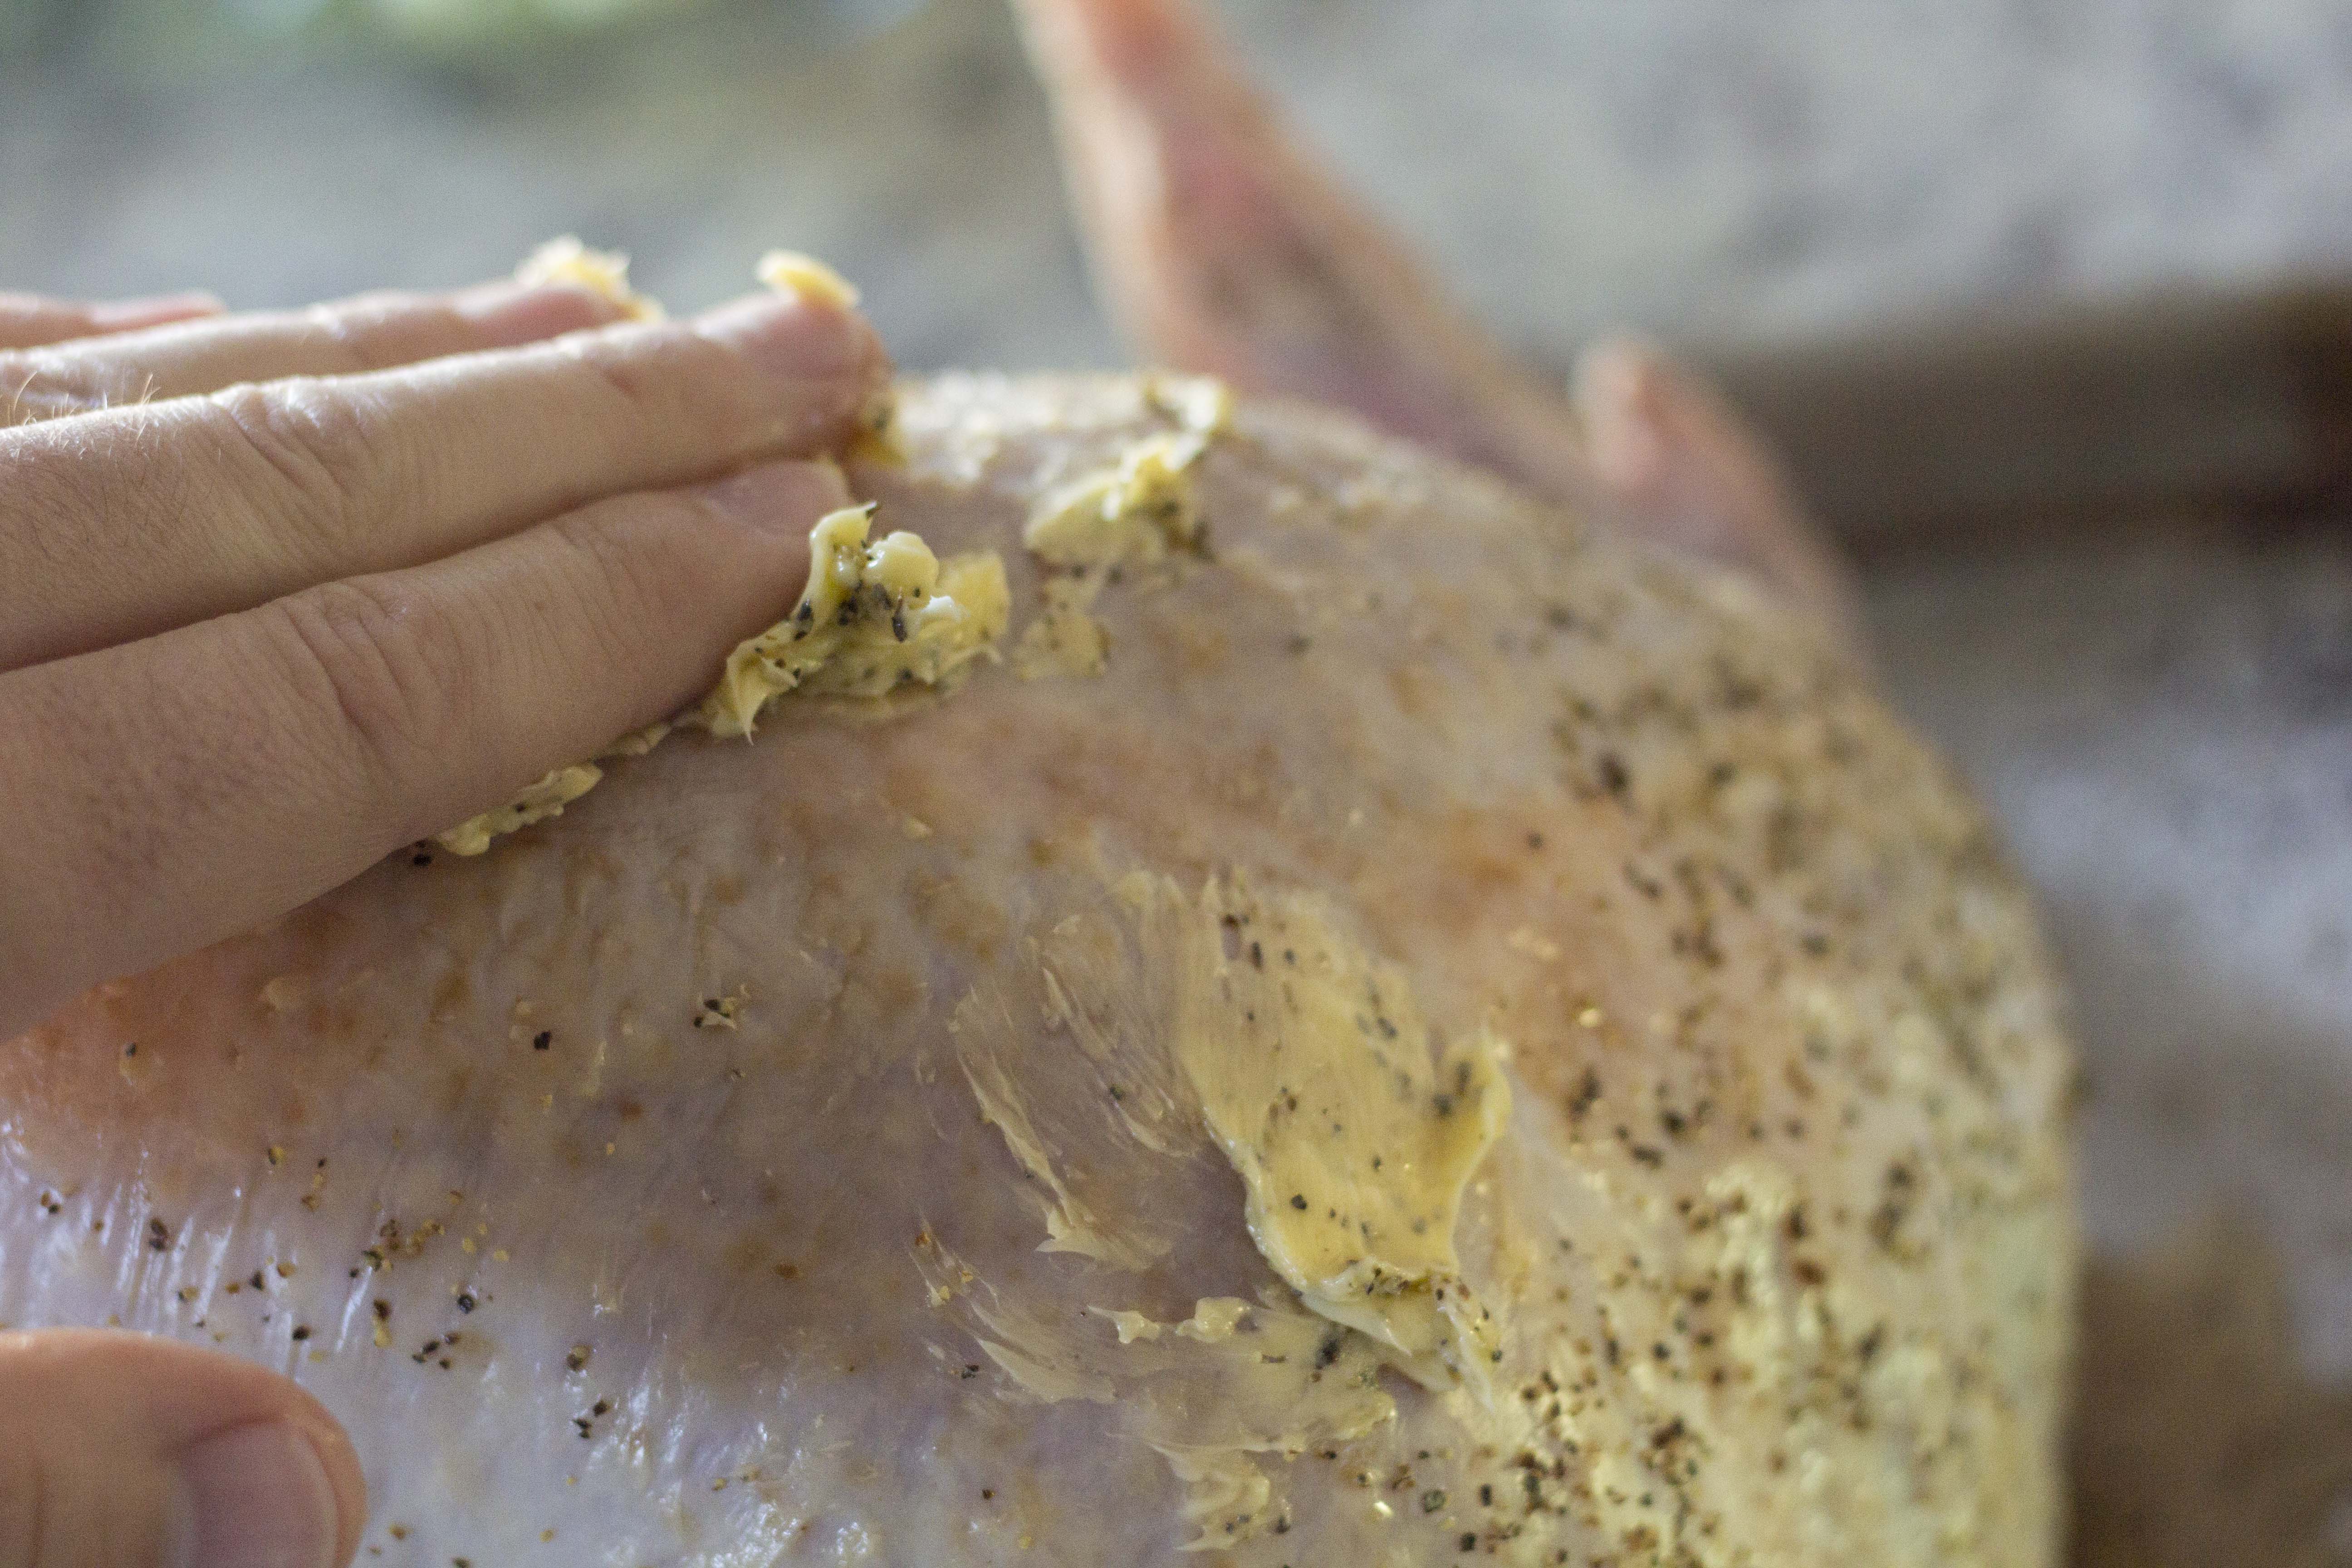 The next step is almost as important as the brine. It’s also, for those of you who are a little squeamish, the grossest part of the entire affair. Rub the room temperature butter all over your hands. Then rub the entire turkey with those hands, pausing to get more butter if needed. Make sure the entire bird in covered in the butter to make sure there’s an even crisp to the skin. A safety note, just because I’m a microbiologist, please don’t reuse any butter you may have touched with raw poultry again. Just throw it out and save yourself a horrible bought of food poisoning.
Preheat the oven to 425°F. It’s very important you don’t go much higher than that because most glassware will shatter if you do and that would ruin your entire night. If you’re using metal feel free to go up to 450°F. Put your turkey in the pan and put your pan in the oven on the middle shelf. Close the door and walk away for 45 minutes. Plenty of time to get started on literally 1 million things to be cooked for dinner.

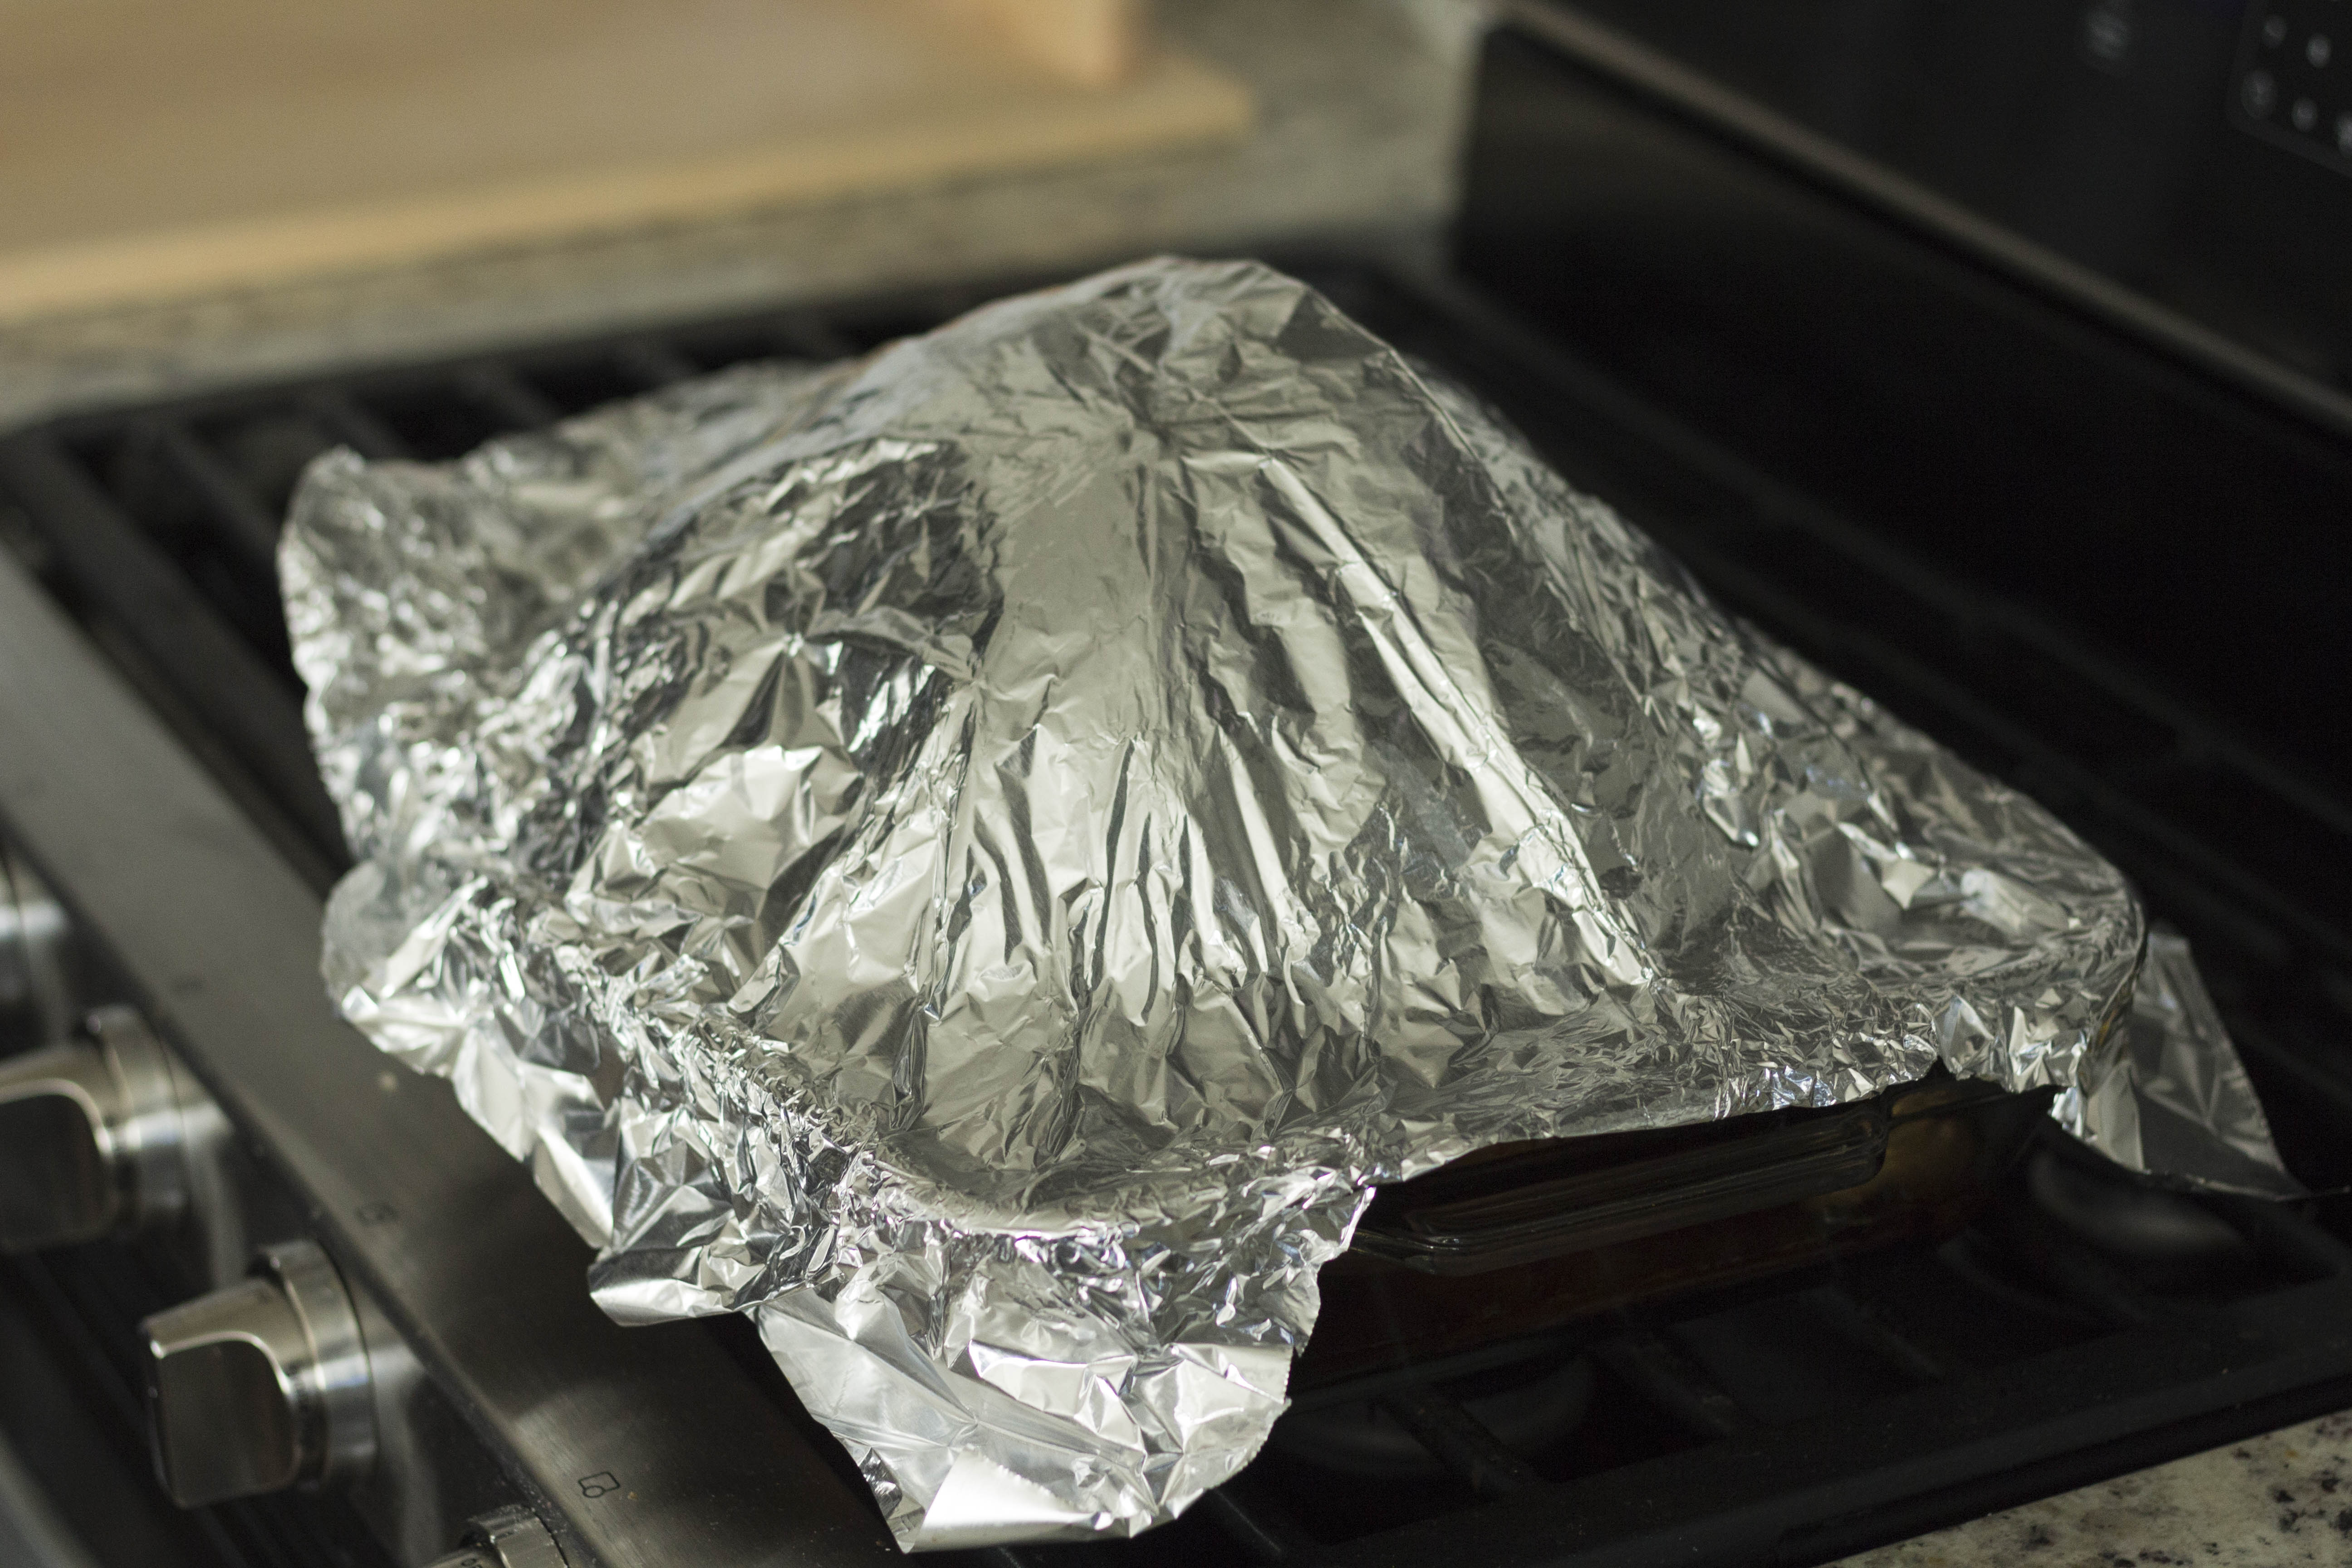
Once the turkey has been roasting for 45 minutes take some tinfoil and cover the breast of the turkey, molding it to keep it in place. It’ll help trap in the moisture and make for a much more juicy bird! If you need to make a piece of tinfoil bigger to cover the whole turkey simply fold over the edges of the foil together and press down to seal. It’ll work. Trust me.
Lower the temperature of the oven to 350°F and bake for the remainder of the time. Here’s a handy, dandy chart for approximate times if you need one. It’s all based on pounds, really, so make sure you know the poundage of your bird beforehand.
9-11 pounds: 2 1/2 hours
12-14 pounds: 3 hours
15-17 pounds: 3 1/2 hours
18-20 pounds: 4 hours
21-23 pounds: 4 1/2 hours
24+ pounds: 5+ hours
 To check if the turkey is done you’ll need an instant read meat thermometer. You can buy them in any grocery store this time of year for about $5.00. It’s worth it. You’ll use it again (maybe…). When the time is up stick the thermometer in the thickest part of the thigh, making sure you aren’t touching any bones. Allow the thermometer to read. Your turkey temperature should be 165°F. If it isn’t, your turkey needs more time to cook. Mine took an extra 20 minutes to get up to temperature. If you need to check again make sure you check in a different spot than the first time! If you want to be extra careful, check in the breast under the wing, as well. The temperature is much more important than the color. Any turkey could have a pink coloring naturally, but if it got up to 165°F or higher, you’ll be just fine!
Remove the turkey from the oven and cover loosely with foil for at least 30 minutes to allow the turkey to rest. This equalizes the juices inside so you have perfectly moist, delicious meat.
Remove the turkey from the pan and start slicing! There are several excellent videos if you google “how to slice a turkey”. I think you’ll be alright!
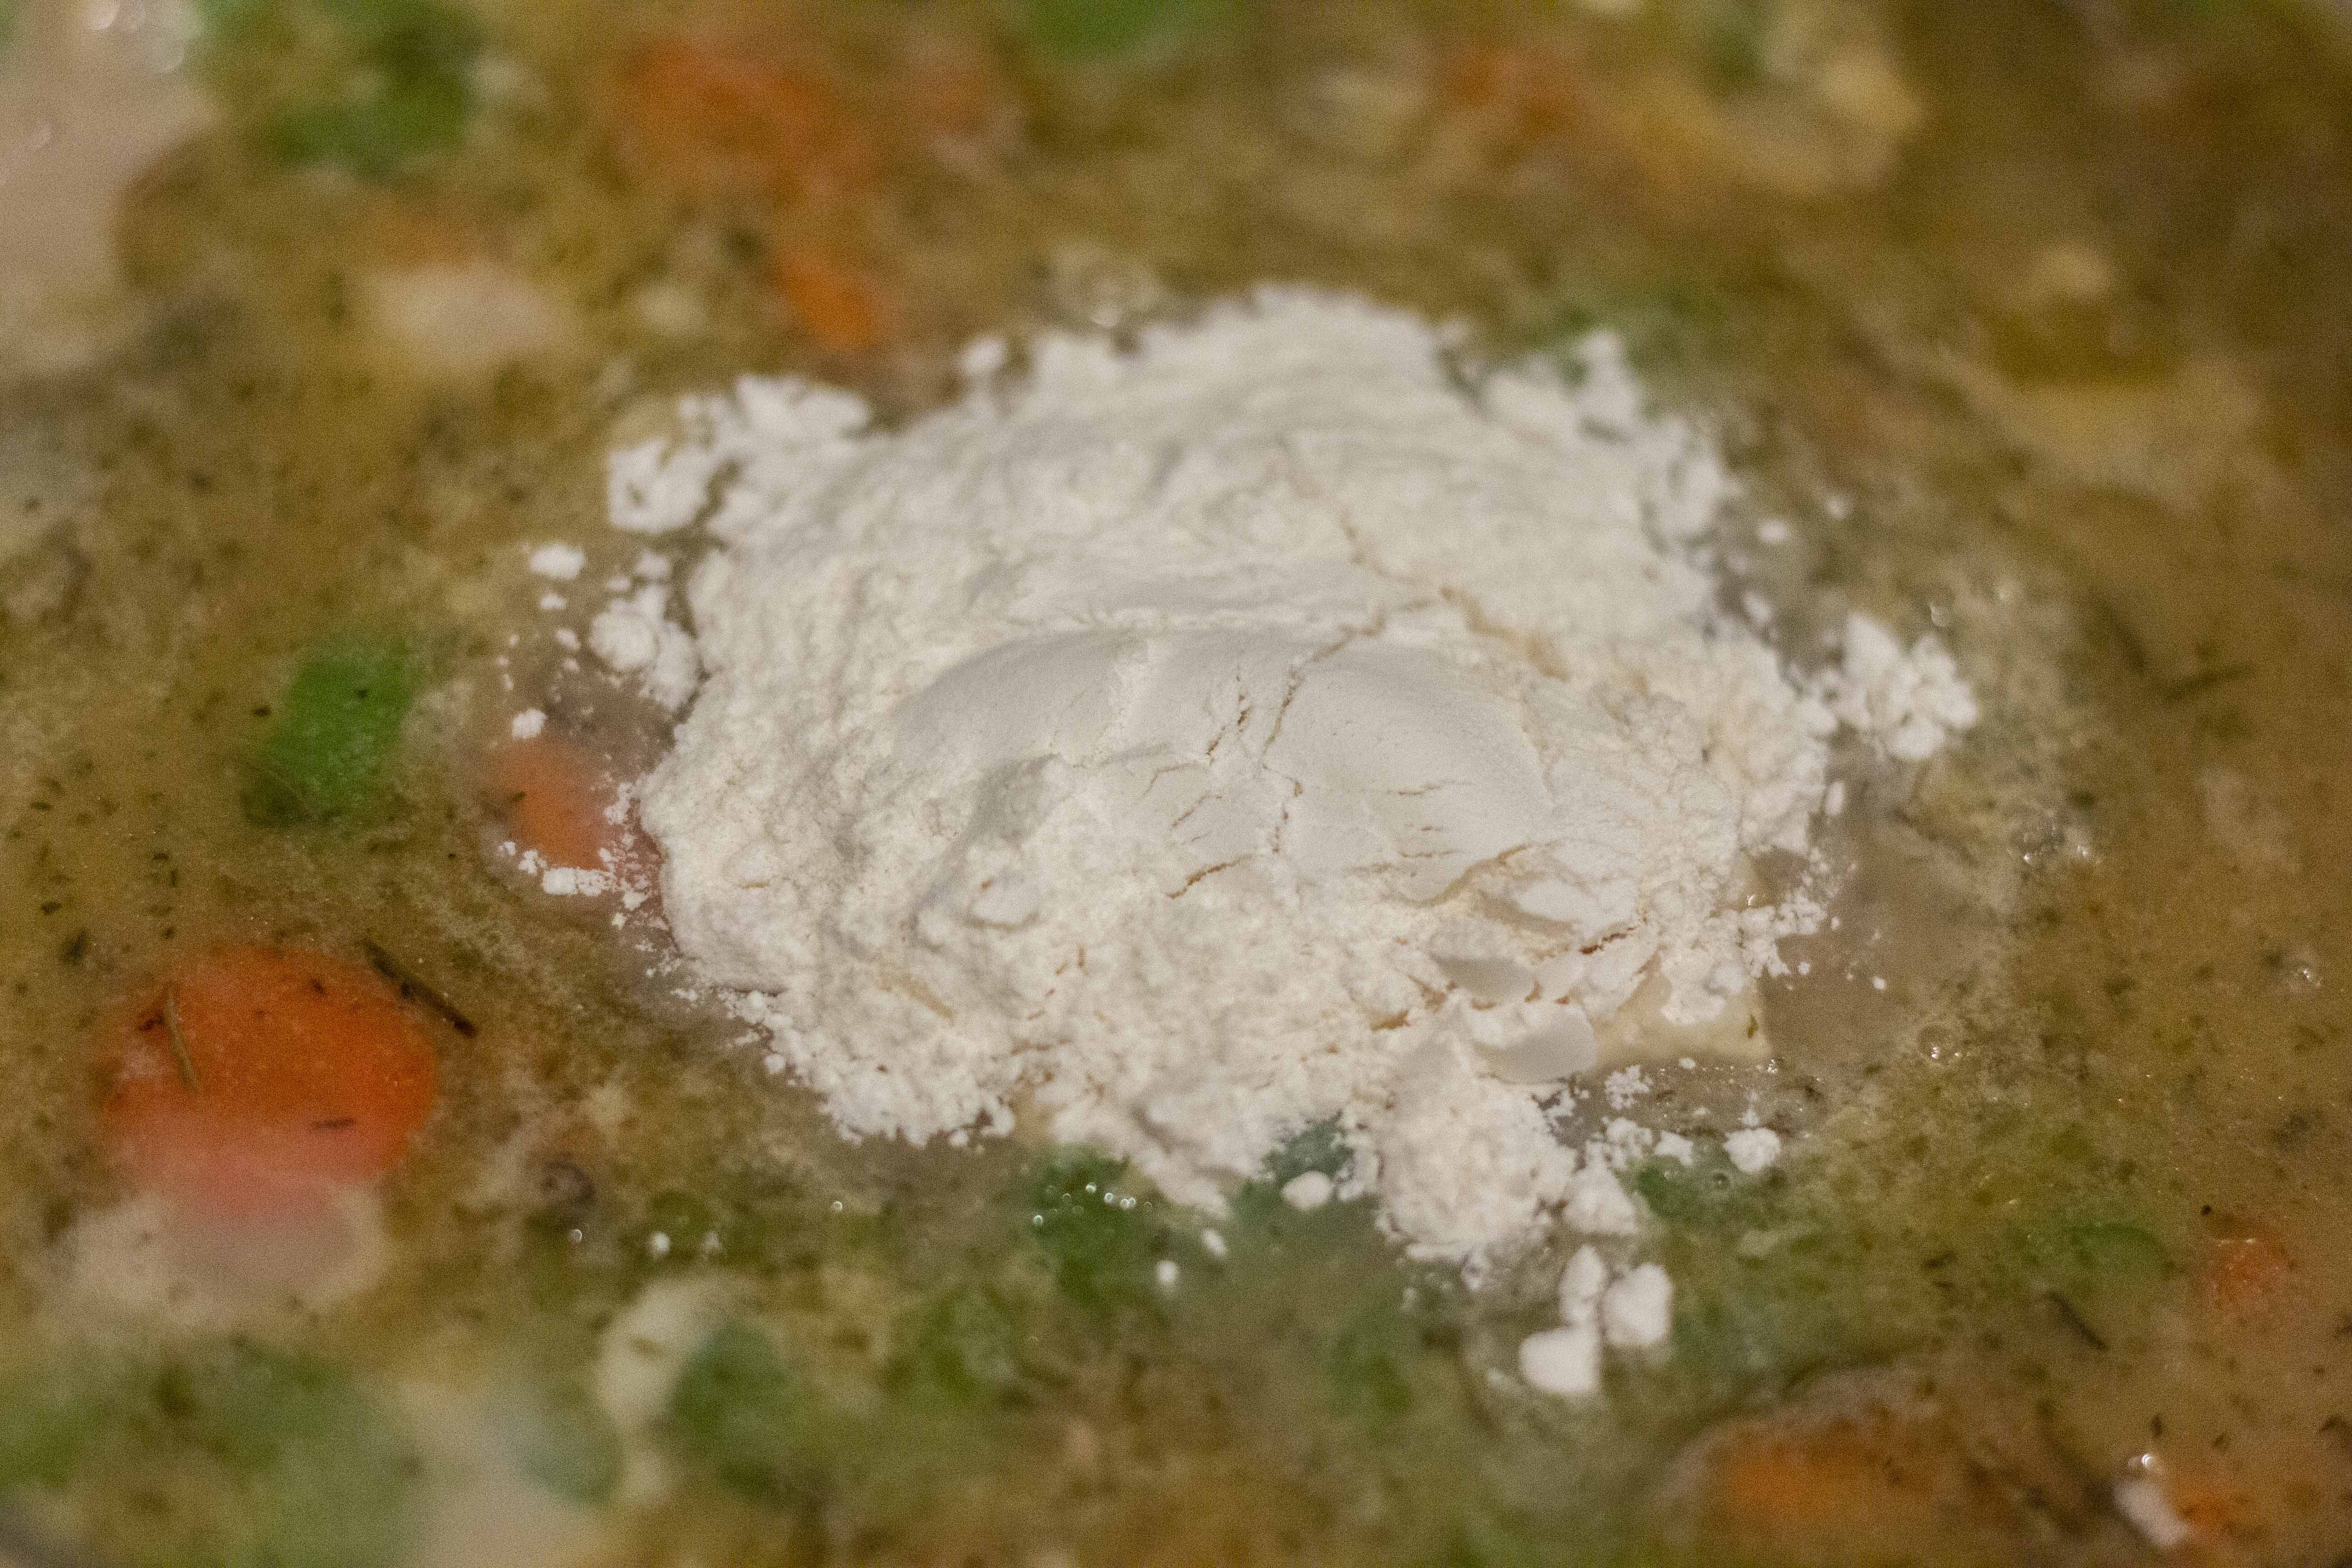
While someone is slicing you can make the gravy. Technically this isn’t part of the recipe but who eats Thanksgiving turkey without gravy? Remove all the herbs, onions, and garlic, and pour all the drippings into a pot and add all the chicken or turkey stock. Heat the liquid to a boil and, while you’re waiting, make the cornstarch mixture. You could use a roux if you feel like it, but that takes longer and we are all about making Thanksgiving easy here! Mix the cold water and cornstarch together until dissolved. Once the liquid is boiling slowly add the cornstarch slurry to the drippings. Stir and continue to heat until thickened. If you need it thicker, just add more cornstarch liquid.
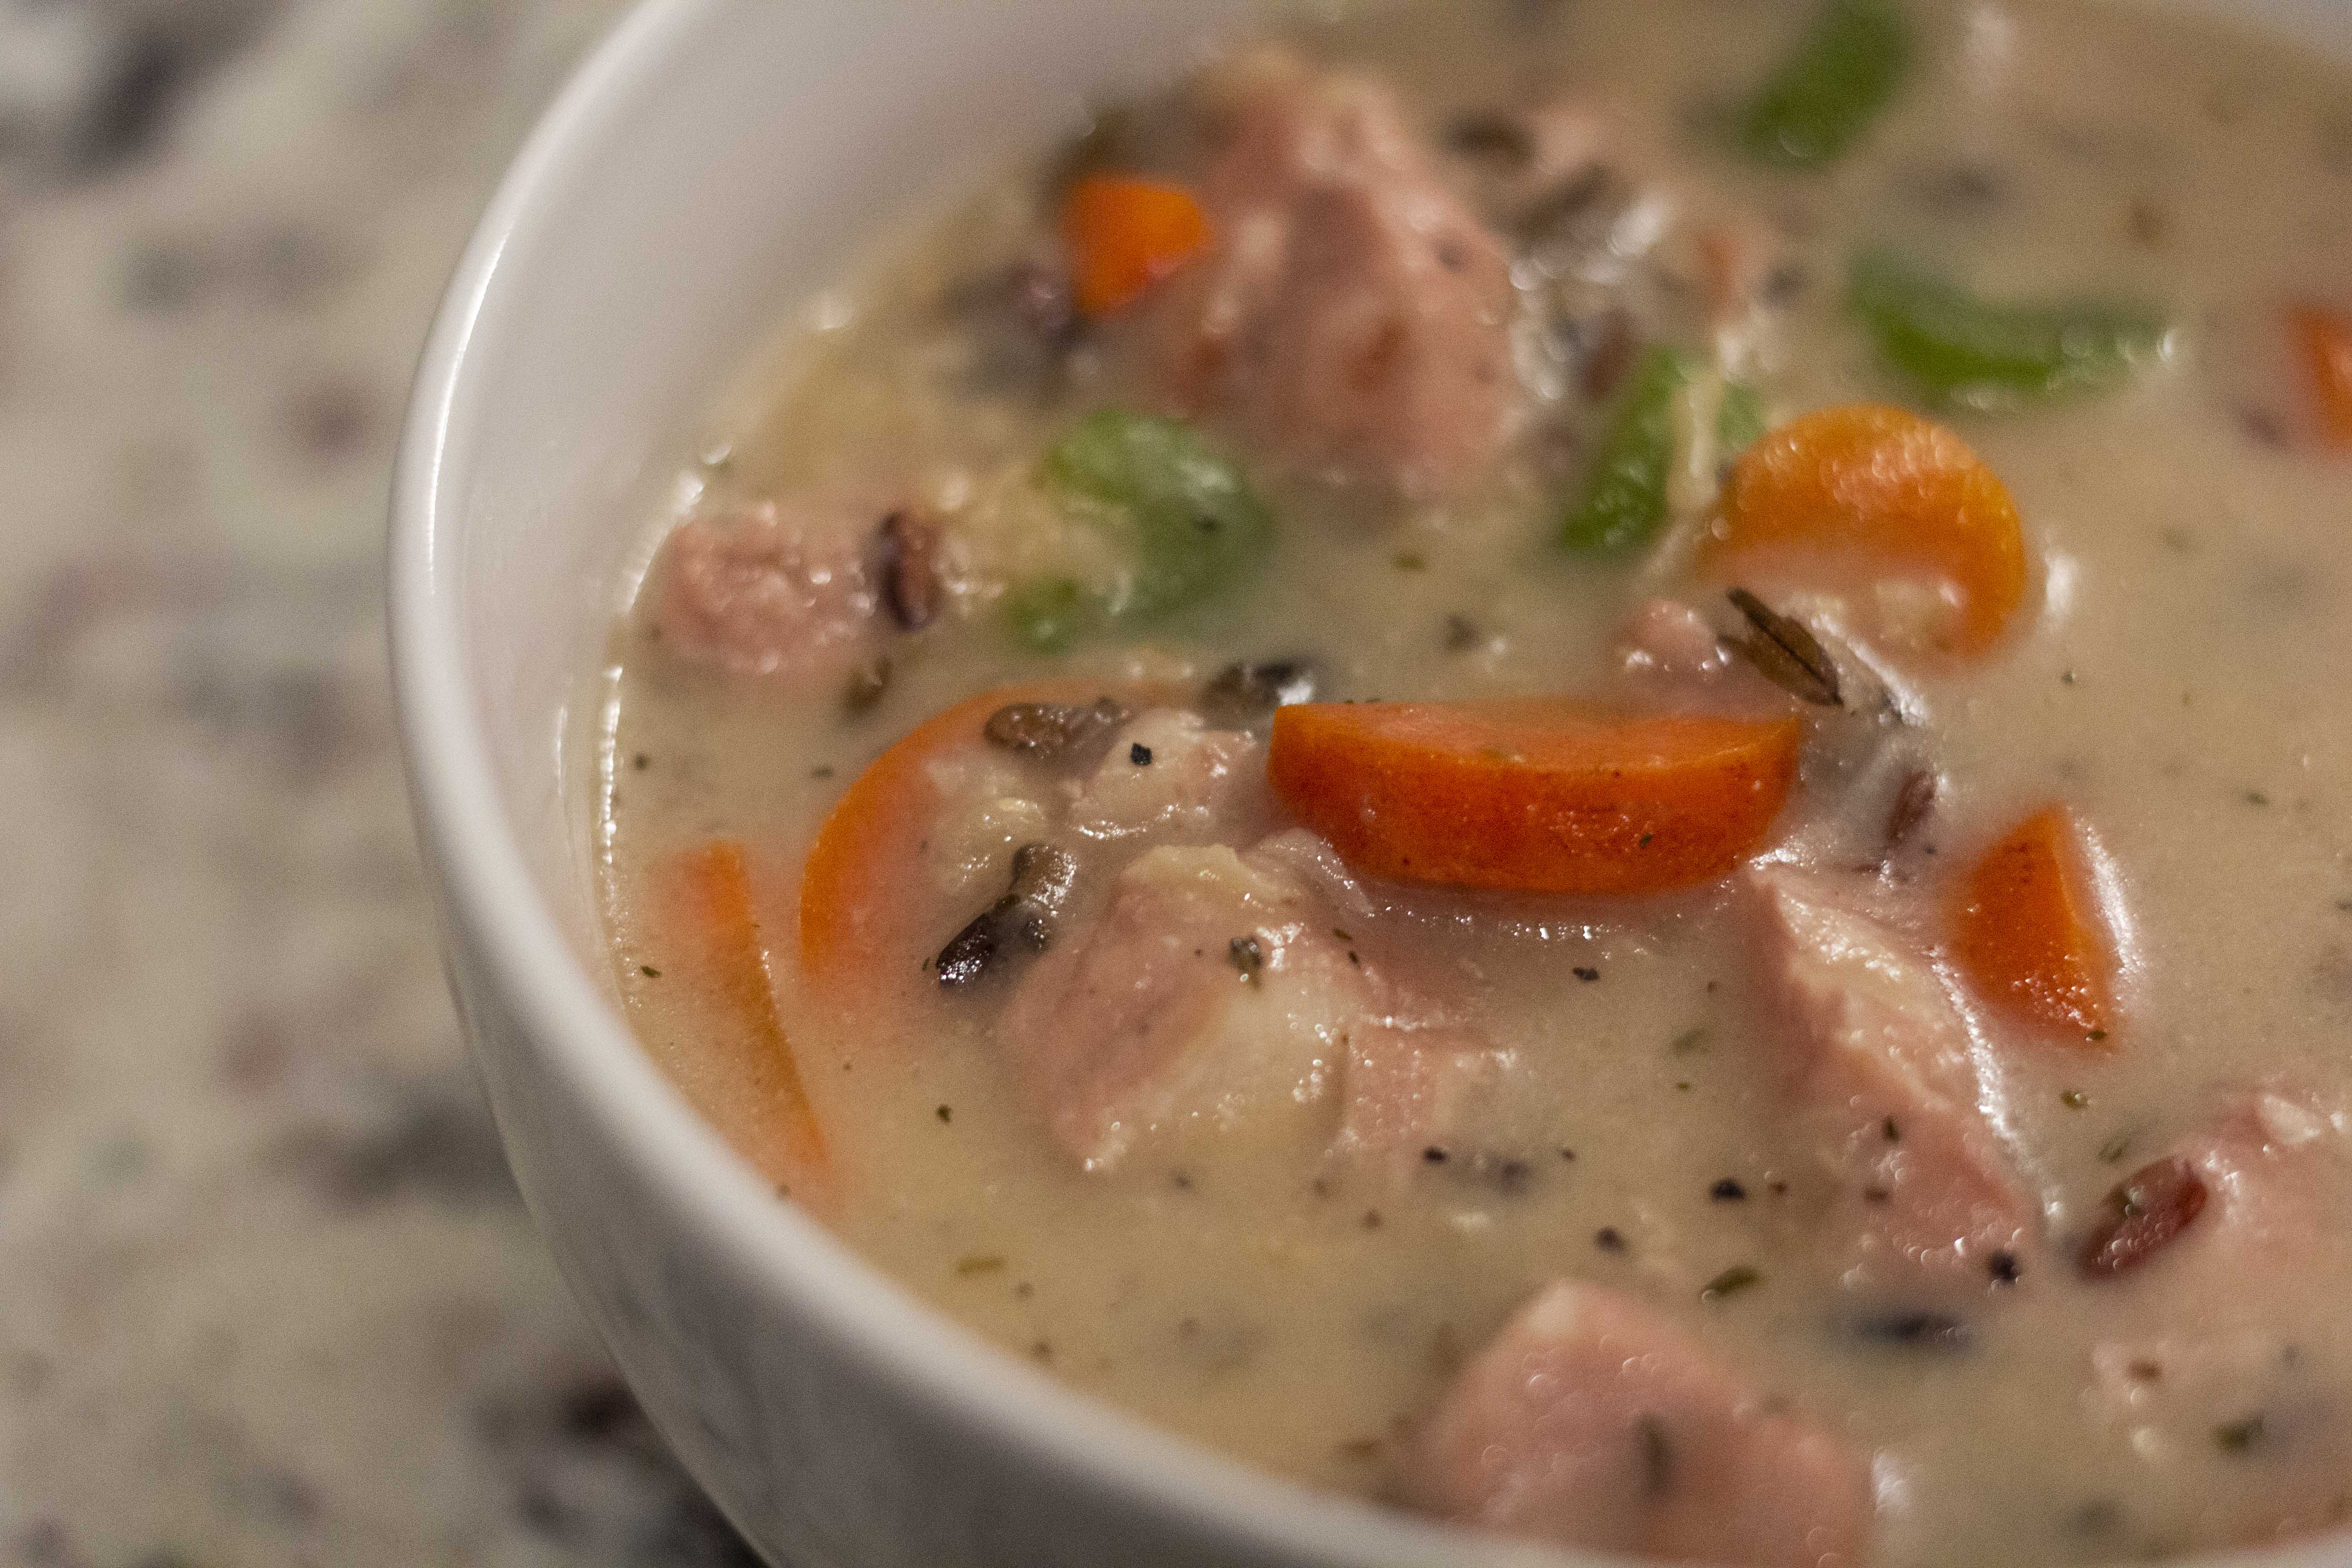
Serve with all the Thanksgiving trimmings and have an incredible time!

Link’s Salt-Grilled Meat
-
- Raw Gourmet Meat or Raw Whole Bird
- Rock Salt
Turkey
- 1 Turkey
- 1/2 tsp kosher salt per pound of turkey
- 1/4 tsp pepper per pound of turkey
- 1/2-1 cup butter, room temperature, based on turkey size
- 7 sprigs fresh oregano or thyme
- 5 sprigs fresh sage leaves
- 6 garlic cloves
- 1 medium onion
- 1 instant read meat thermometer
Gravy
- 1 pan turkey drippings
- 3 cups chicken or turkey stock
- 1/4 cup cold water
- 3 heaping spoonfuls cornstarch
Directions
1. Thaw your turkey according to the packing instructions, generally refrigerated for a few days. If you need a quicker thaw, fill a sink with cold water and place the turkey in. Drain the water every 1/2 hour and refill with cold water. Continue this process for 8 hours until the turkey is thawed.
2. Remove the bird from the packaging and take out the neck and giblets. These should be located inside the turkey at either the bottom or the neck holes.
3. Dry the entire turkey with paper towels
4. Coat the turkey in the kosher salt and pepper. Allow the turkey to sit, with the salt and pepper, at room temperature for 1 hour to take off the chill.
5. Wash the sage and oregano or thyme.
6. Slice the onion into quarters.
7. Remove the skin from 6 garlic cloves.
8. Line the outside edges of a glass or metal cake pan large enough to hold your turkey with the aromatics, putting the onions in the corners.
9. Rub the room temperature butter all over your hands, coating them completely.
Then rub the entire turkey with those hands, pausing to get more butter if needed. Make sure the entire bird in covered in the butter. A safety note, if you touch any butter with turkey or turkey-covered hands please throw it away to mitigate the risk of food poisoning.
10. Preheat the oven to 425°F. Put your turkey in the pan and put your pan in the oven on the middle shelf. Close the door and bake for 45 minutes.
11. Once the turkey has been roasting for 45 minutes take some tinfoil and cover the breast of the turkey, molding it to keep it in place. If you need to make a piece of tinfoil bigger to cover the whole turkey simply fold over the edges of the foil together and press down to seal.
12. Lower the temperature of the oven to 350°F and bake for the remainder of the time. Please see the chart in the body of the post for the correct times.
13. Insert the instant read thermometer into the thickest part of the thigh, making sure you aren’t touching any bones. Allow the thermometer to read. Your turkey temperature should be 165°F or higher. If the temperature is not quite high enough, roast the turkey until the temperature reads the correct amount.
14. Remove the turkey from the oven and cover loosely with foil for at least 30 minutes to allow the turkey to rest.
15. Remove the turkey from the pan.
16. To make the gravy remove all herbs, onions, and garlic, and pour all the drippings into a pot. Add the chicken or turkey stock and bring to a boil.
17. Mix the cold water and cornstarch together until dissolved. Once the drippings are boiling slowly add the cornstarch to the drippings, stirring to mix.
18. Stir the gravy and bring it back to a boil. Add more cornstarch and water if a thicker gravy is desired.


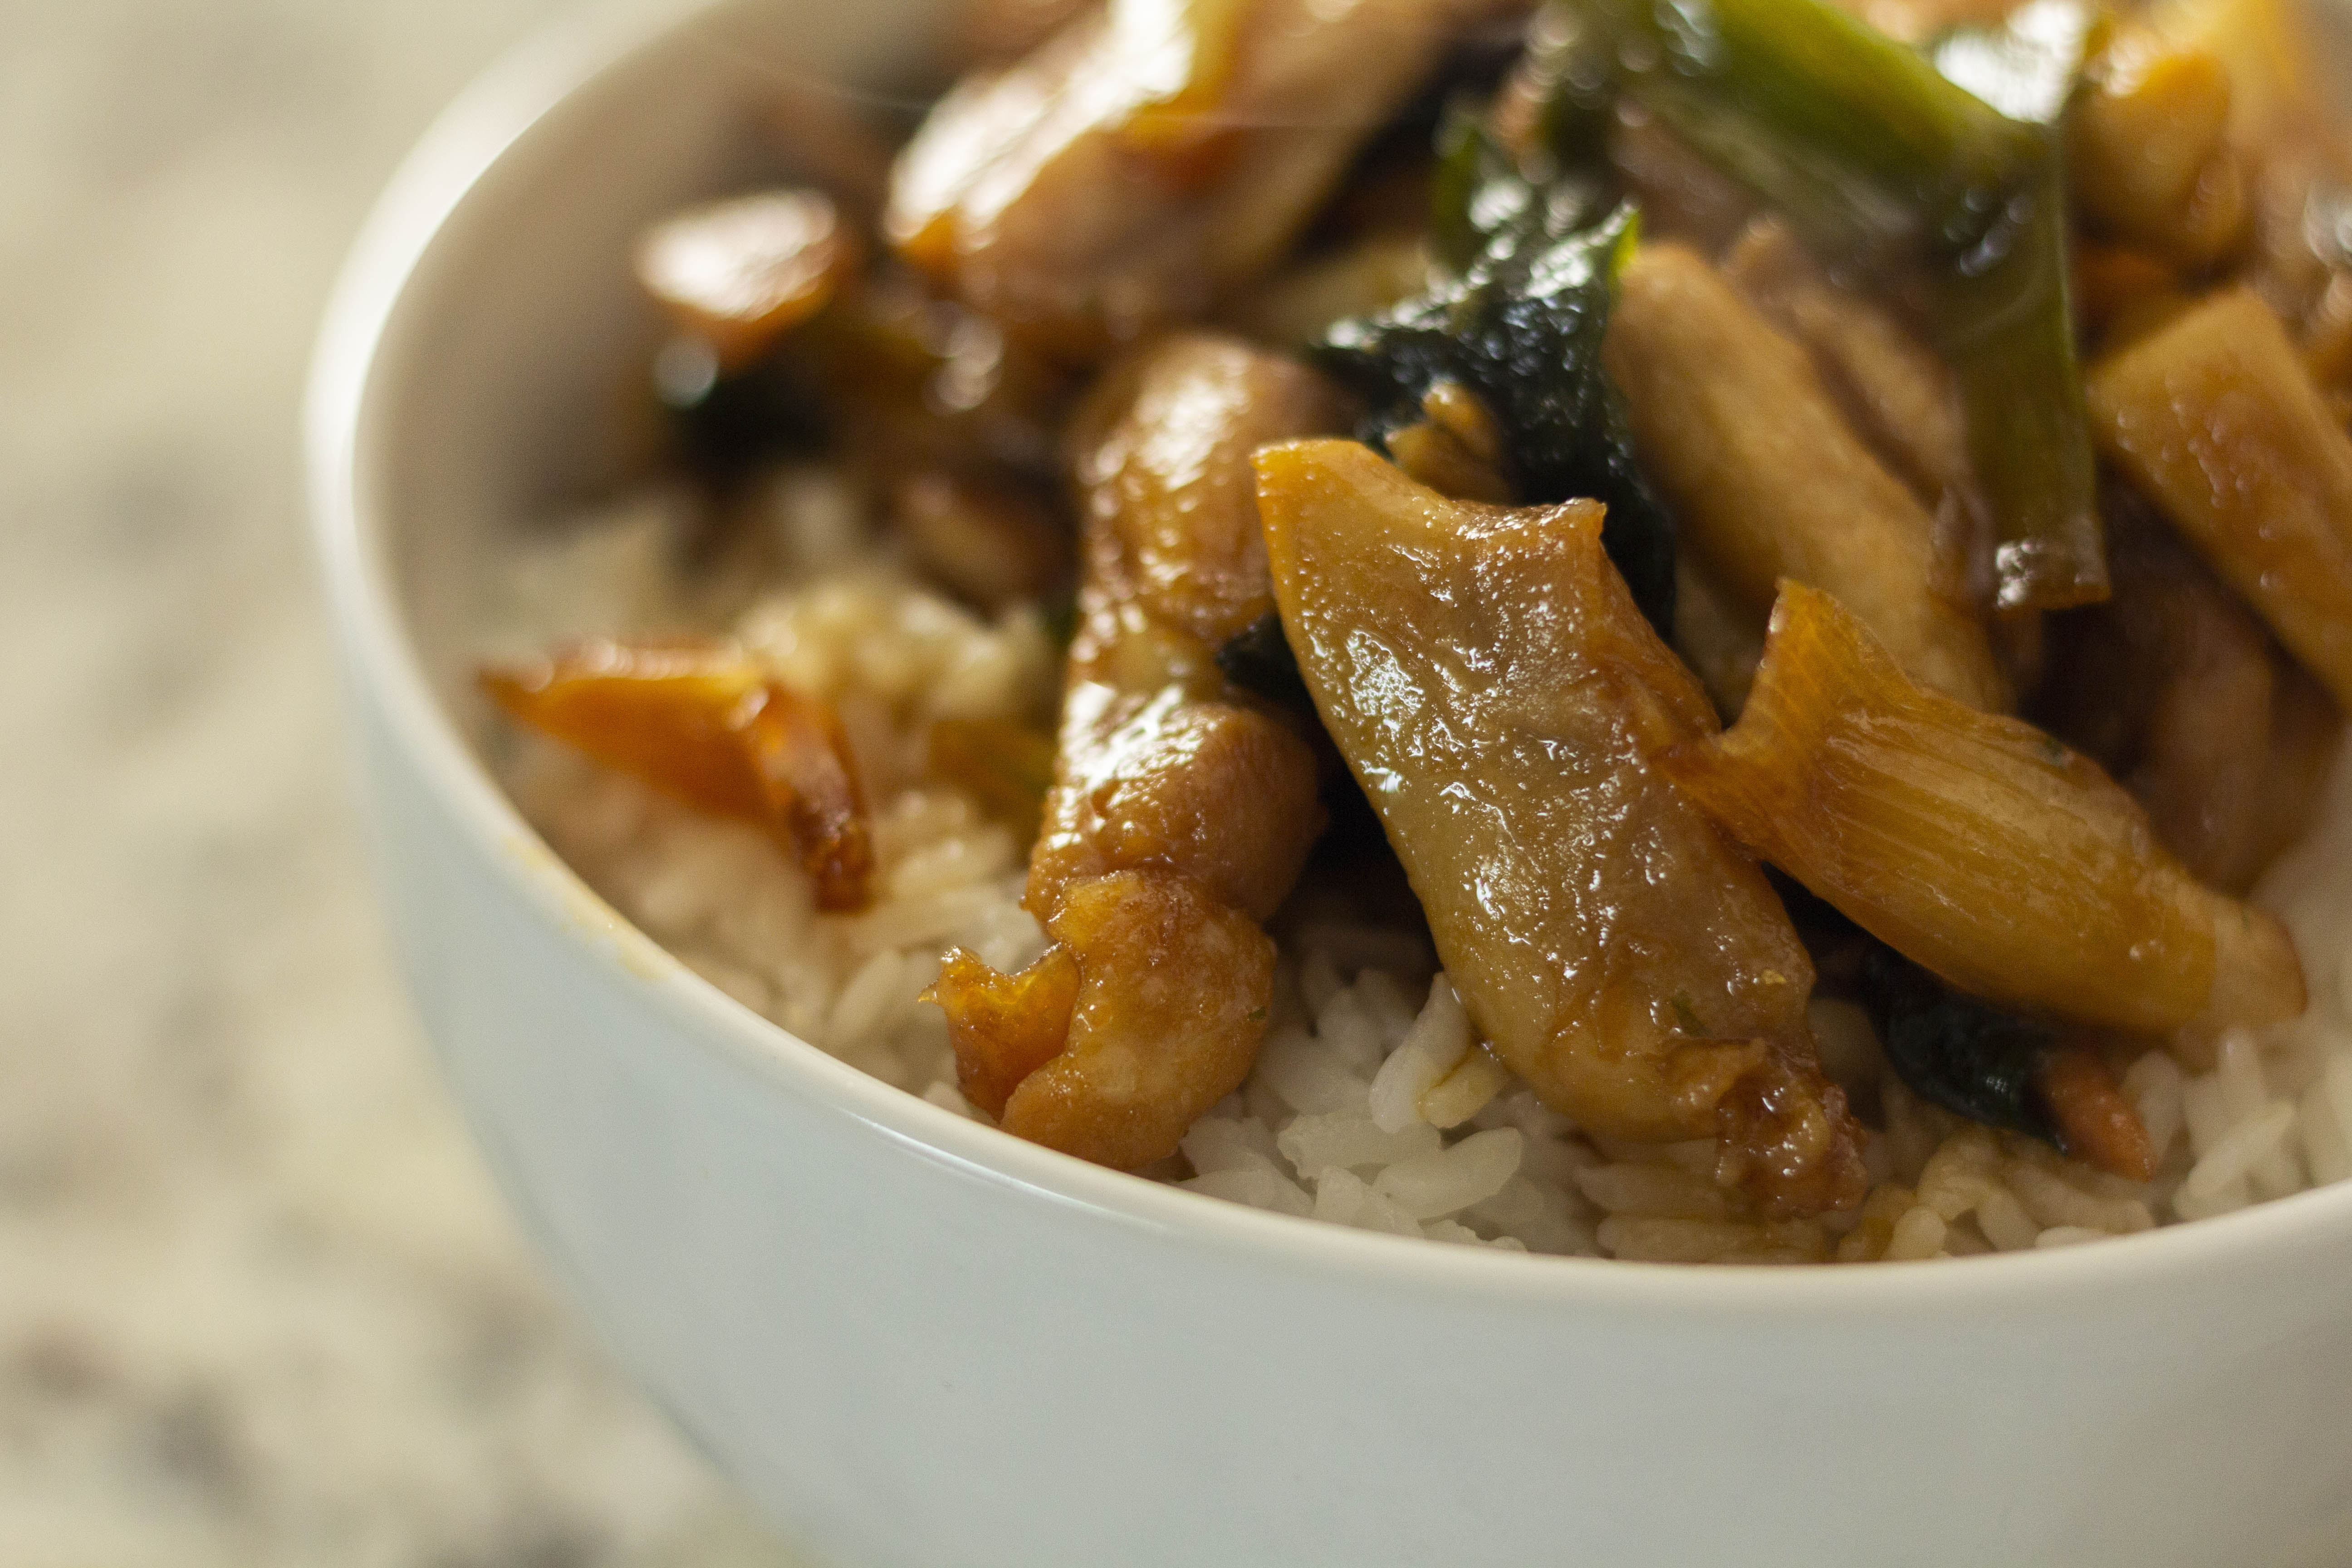
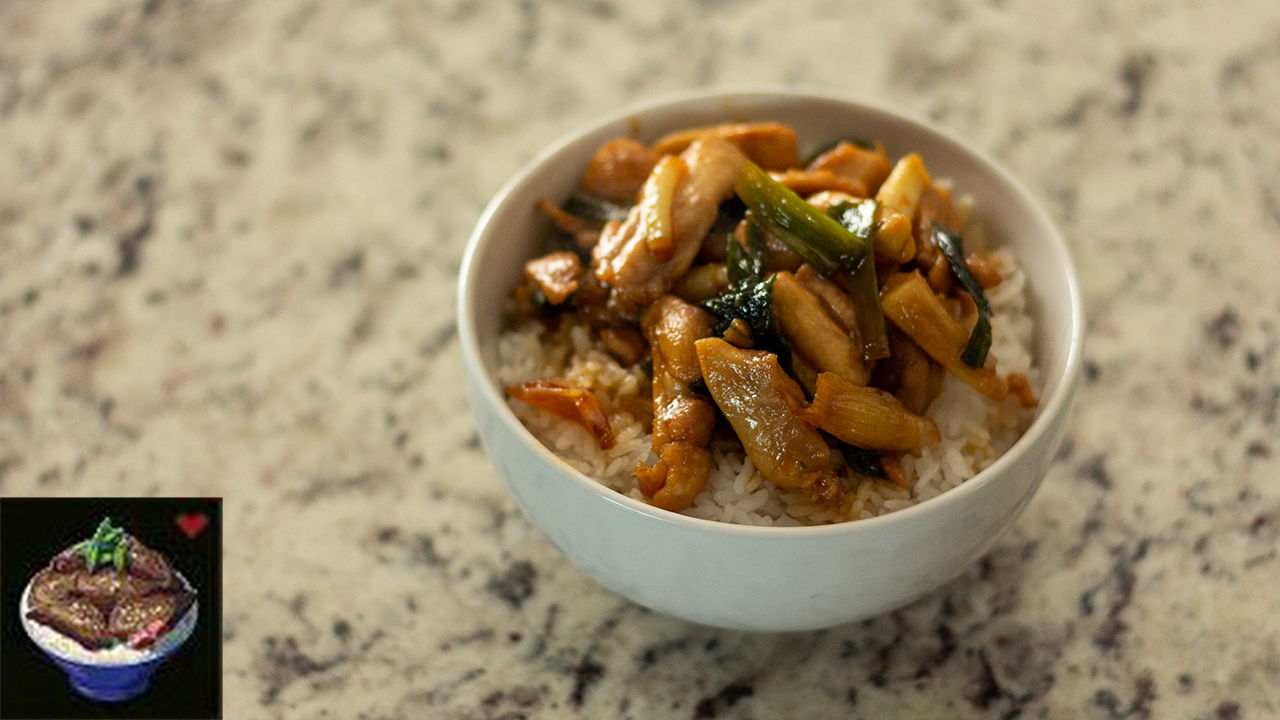
 Add oil to the pan/wok and half the green onions. Turn the heat on high, as high as it’ll go (for a wok) or medium high (for a pan) and wait until the onions start popping. Add the chicken, sprinkle on the salt, and cook, stirring constantly, for 3 minutes, or until they’re no longer pink on the outside. Add the remainder of the green onions and all of the teriyaki sauce (which, if you kept stirring it, should have all the sugar dissolved). Stir until everything is coated and allow to boil and cook for 3 more minutes, or until the sauce starts to thicken. Be warned, if you cook this in a pan, you’ll want to do it in a tall pan (maybe even a pot). The sauce foams like crazy when it boils and it’ll grow to about double it’s height. Don’t believe me? Check out the photo.