When I was a kid I wanted to be just like my dad. I wanted the same glasses my dad had, I pretended to read the same newspaper, I ate the same cereal, and loved the same history he loved. Things haven’t really changed as I’ve gotten older – I still want to be just like my dad. Still just as strong, patient, humble, sacrificing, and understated as one of the most important people in my life. So it just makes sense that I would dedicate my pre-valentine’s day Thankful recipe to my first valentine – my loving father.
Some of my favorite memories of my childhood were moments spent getting donuts with my dad. We would get up really early and drive the 30 minutes to the nearest Krispy Kreme to bring dozens back to the family for breakfast. And every Saturday morning I would head off to the hardware store with my dad, to buy whatever materials he needed for his next home improvement project, and eat one or two of the sugar donuts the store would provide to us early-risers. And still, to this day, whenever I eat a donut, I’m reminded of the special moments I had, just me and my dad, involving one of our favorite treats.
Dad’s Sugar Donuts

For those of you who follow me on Instagram, this is one of the recipe’s I worked on for weeks to perfect. And now I share it with you! These donuts are incredibly light and fluffy, melting like sugared air in your mouth. But, in order to get them that way, they’re a bit tricky. Trust me, it’s definitely worth it. You’ll just have to be patient with yourself! I know you can do it!
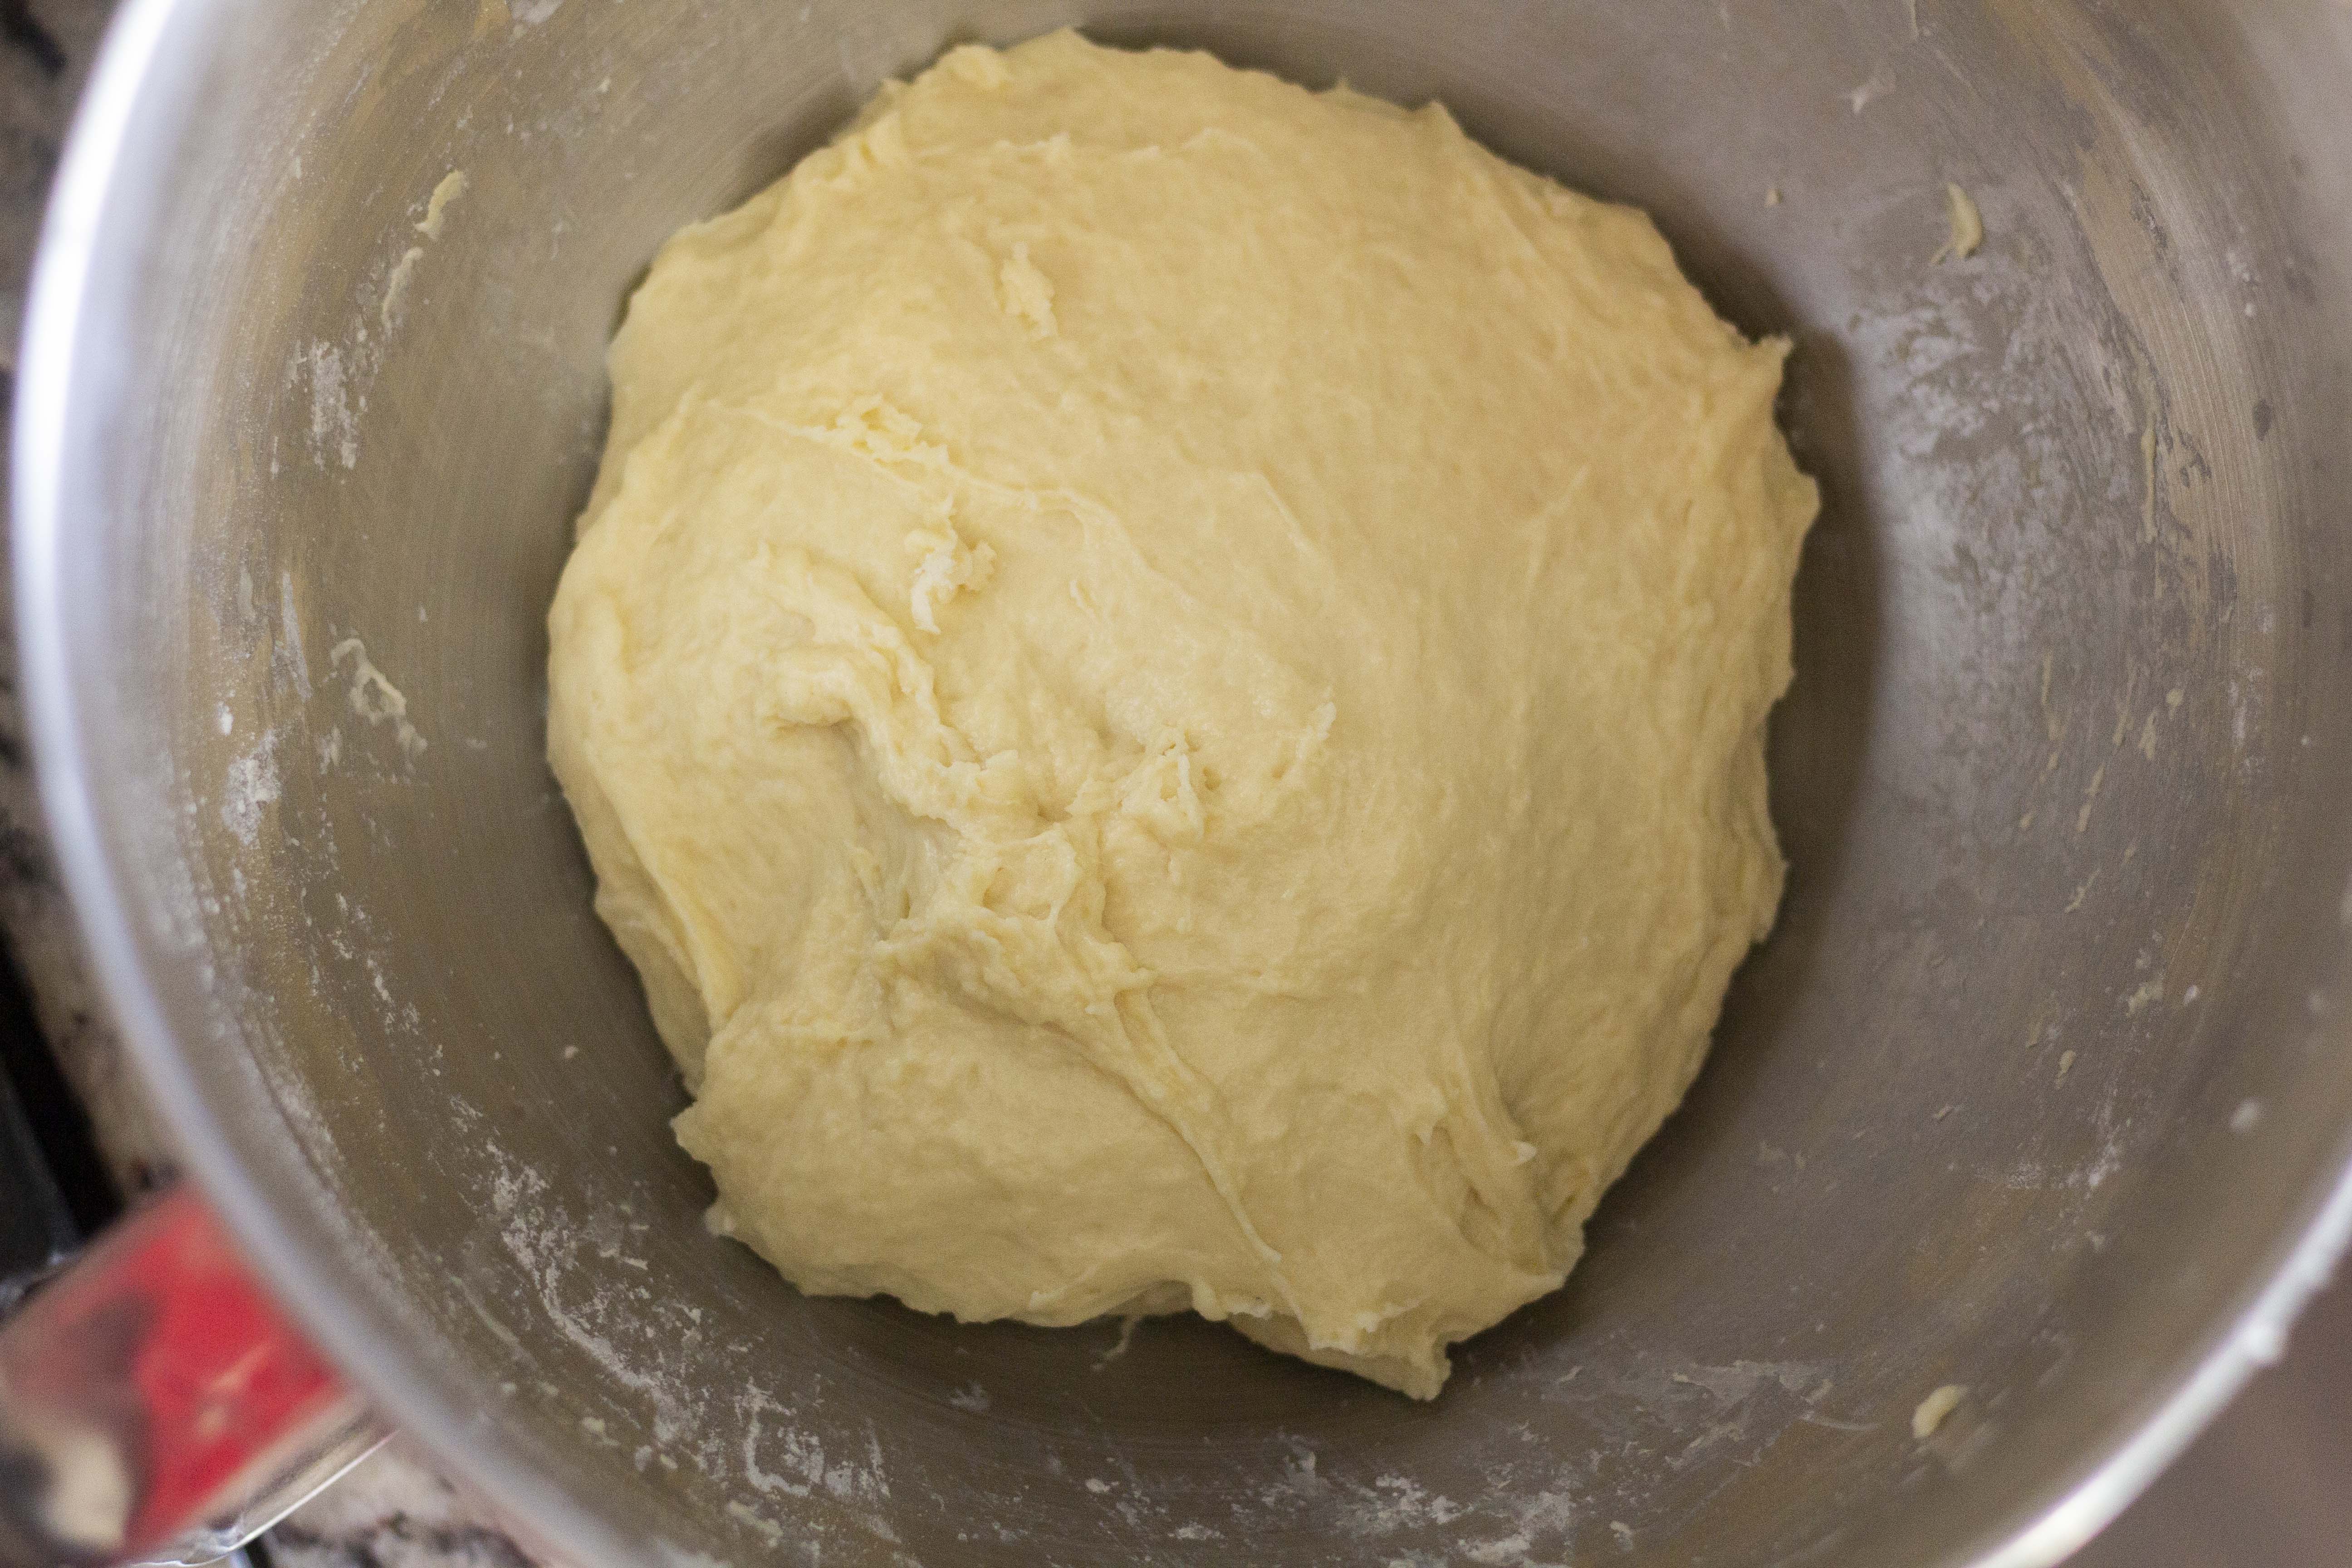
We start by mixing the dough. Now, this dough is very wet. I mean, very, very, very, very wet. We want it that way – it makes the final product lighter. So don’t be tempted to add any extra flour to this recipe. Otherwise you’re donuts just won’t be quite as good. But it does mean I can’t recommend highly enough using a stand mixer for this. You can knead by hand, but if you’ve ever seen The Great British Bake Off, you’ll know it’s very tricky to knead by hand. So if you can simply use a stand mixer, it’ll save you bunches of time and stress.

Add the flour, sugar, salt, and yeast to the bowl of a stand mixer. Add the yeast and the salt on opposite sides of the bowl. Salt is a yeast inhibitor and we don’t want to start the process off by prematurely ruining our yeast! Give it a quick spin with the dough hook.


Next add the warm buttermilk, egg, and melted butter. PS – here’s a bit of a tip – you can warm the buttermilk up slightly in the microwave instead of waiting a million years for it to come to room temperature. We want the buttermilk to be about 100F, or slightly warmer than lukewarm. Turn on the mixer to low speed and mix until a dough ball starts to form. It should still be shaggy at this point, with bits of dry ingredients still dry. We just want the gluten to start forming before we add the rest of the liquid and make it super wet! Once the dough reaches this stage add the warm water (again, about 100F) to the bowl, scrape down the sides, and turn the hook on low.
Mix until completely combined, scraping down the bowl as needed, and then knead on low for 5-7 minutes. It won’t feel like it’s being kneaded normally, the entire mass will not wrap around the dough hook, but I promise it’s working. Keep this up until the edges of the dough start to form a rounded shape. It’ll still look flat and attached to the bowl, but it sort of balls up. It shouldn’t be more than 5-7 minutes.

Scrape the dough down to the bottom of the bowl, cover, and let rise until doubled. Depending on your altitude, the quality of your yeast, and the temperature of your room this could take a while. Be patient!
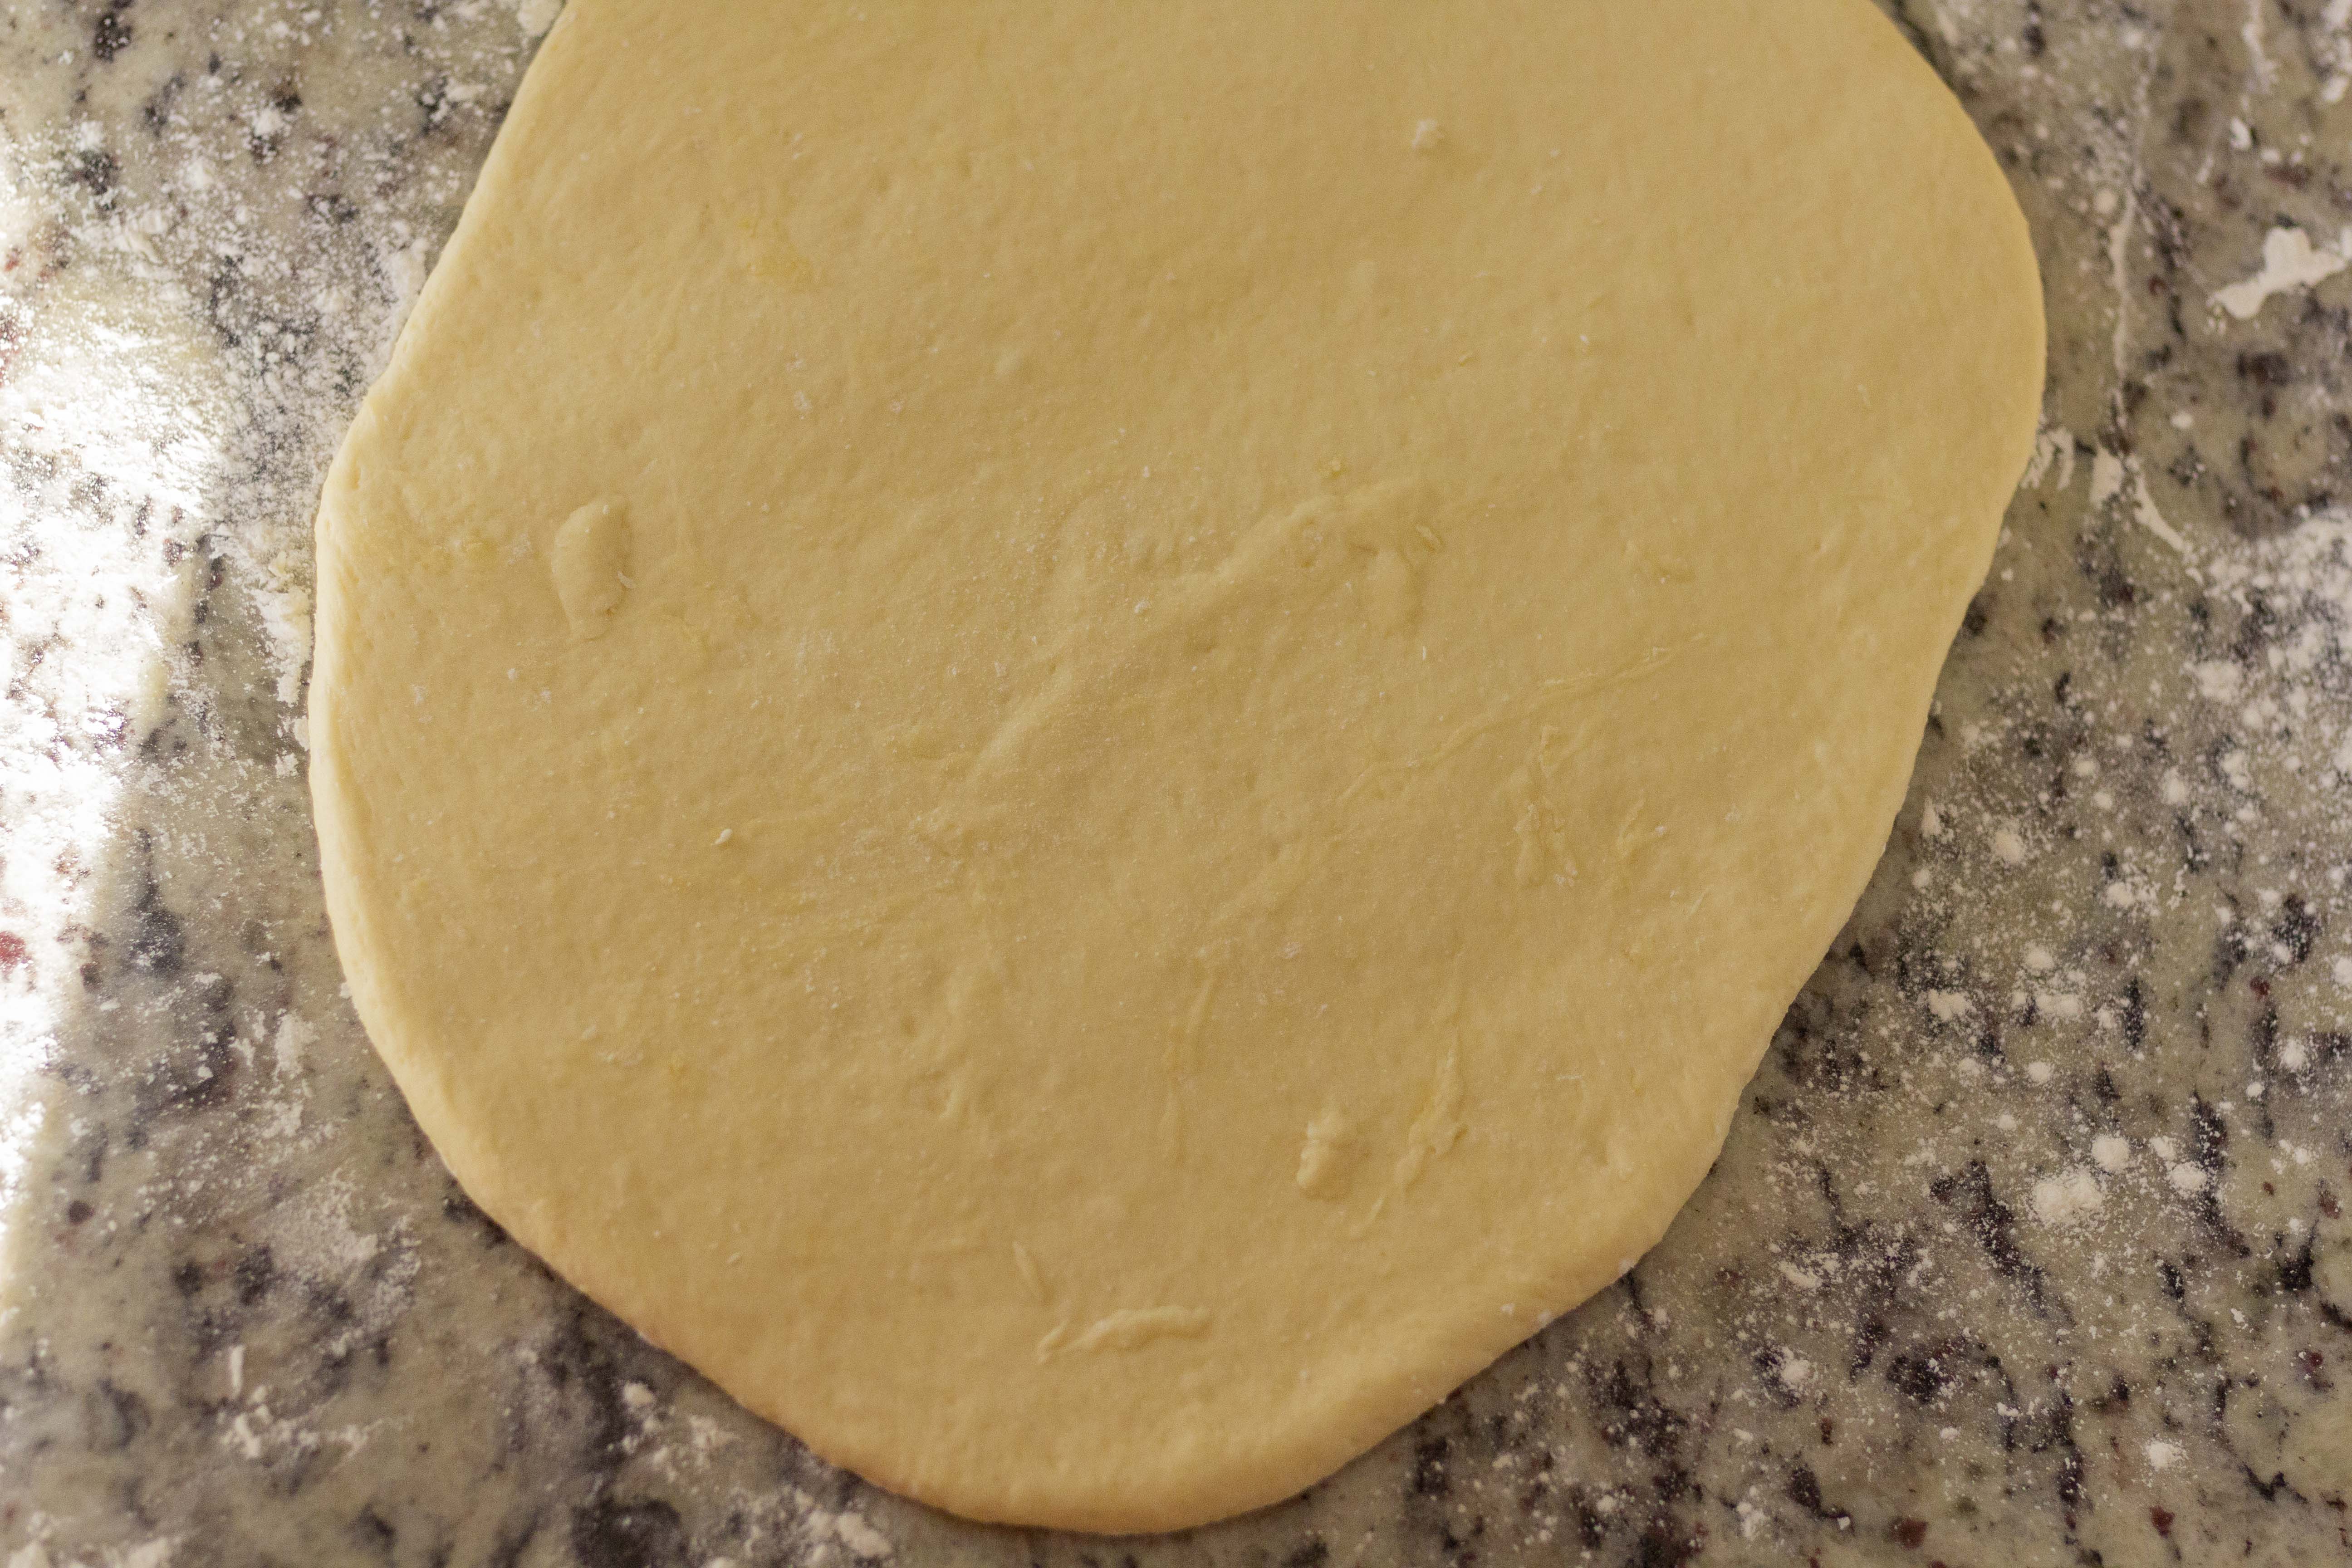

When the dough is doubled flour a surface and turn the dough out onto the surface. Flour a rolling pin and roll the dough out to 1/2 inch height. We don’t want to push too hard to roll too thin because we want to keep some of that lovely air trapped inside. Flour a round donut cutter and cut donuts from the rolled dough, trying to space them close to get as many donuts as possible out of the dough. You can, if you feel guilty about throwing away dough, knead the scraps slightly, re-roll, and cut more donuts. However, these donuts will be heavier and not have the characteristic white line down the center of the donut. Re-rolling scraps incorporates flour, which adds weight when you fry them. I, personally, don’t. But if you do you can expect to get another 3-4 donuts from the batch. If you don’t have a donut cutter, simply use a 3 inch round cutter for the donut and a 1 inch cutter in the center for the donut hole. It just takes an extra step!

Place the donuts on parchment paper and cover with plastic wrap or a tea towel. It’s very important to use parchment and NOT silicone. We will be cutting up the parchment and I don’t think you want to cut your nice silicone mats! Make sure you’ve spaced the donuts far apart to allow for a rise and a cut around them.
Allow to rise until doubled – they should be light and fluffy, but not over-risen. If they look like they’re starting to sag they’ve risen too much and they’ll be flabby, flat donuts out of the fryer. Watch them very carefully. You can also retard this step by placing them, covered, in the fridge. If you do this simply remove them from the fridge 30 minutes before frying to warm them up to room temperature.
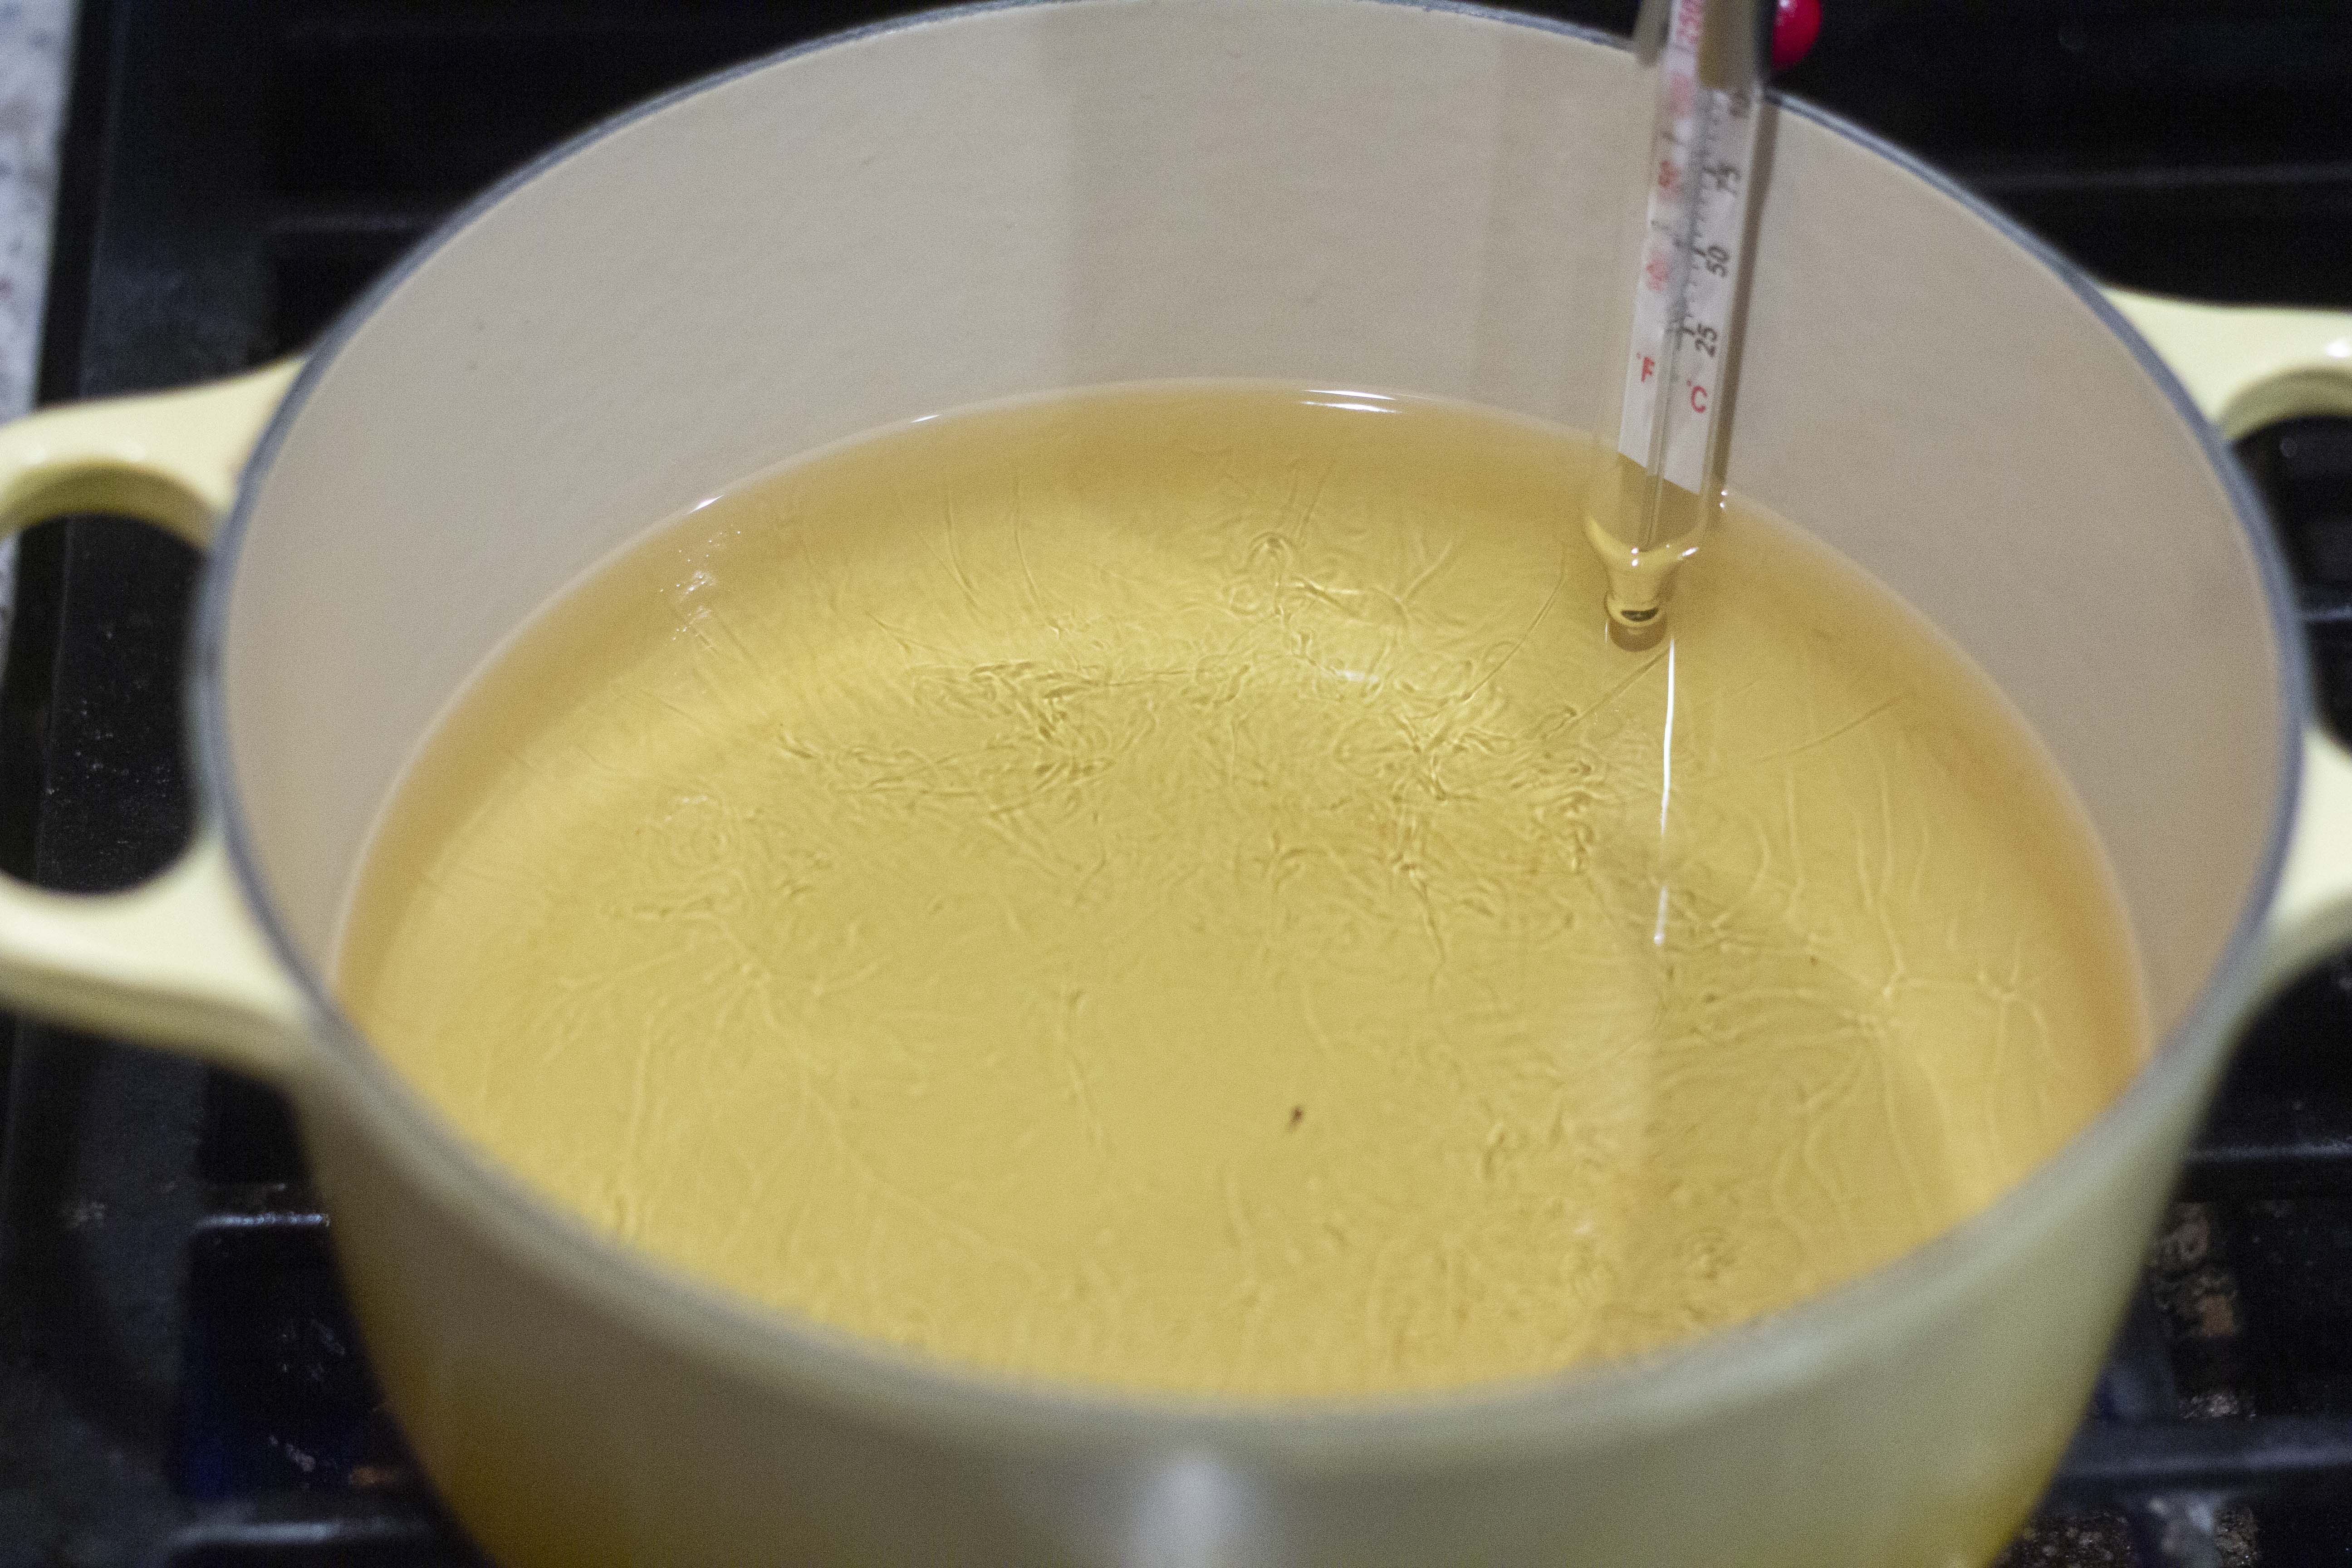
Heat 2 inches of vegetable or canola oil in a heavy-bottom pot or dutch oven. Dutch oven’s really are the best, since the cast iron retains heat, and therefore temperature, much better than any other material. Using a candy thermometer, heat the oil gradually up to 175-180F. You don’t want to over-heat the oil or under-heat it. It’s important to get it to the right temperature to prevent the donut from either A) soaking up too much oil and becoming yucky oil sponges (too cold) or B) burning on the outside while still being raw on the inside (too hot).
When the oil is nearly at temperature slowly and gently cut around the donuts and donut holes so they each sit on their own piece of parchment. Make sure you do this slowly! If you move too quickly and shake things up too much you could deflate the donut, and nobody wants a deflated donut.


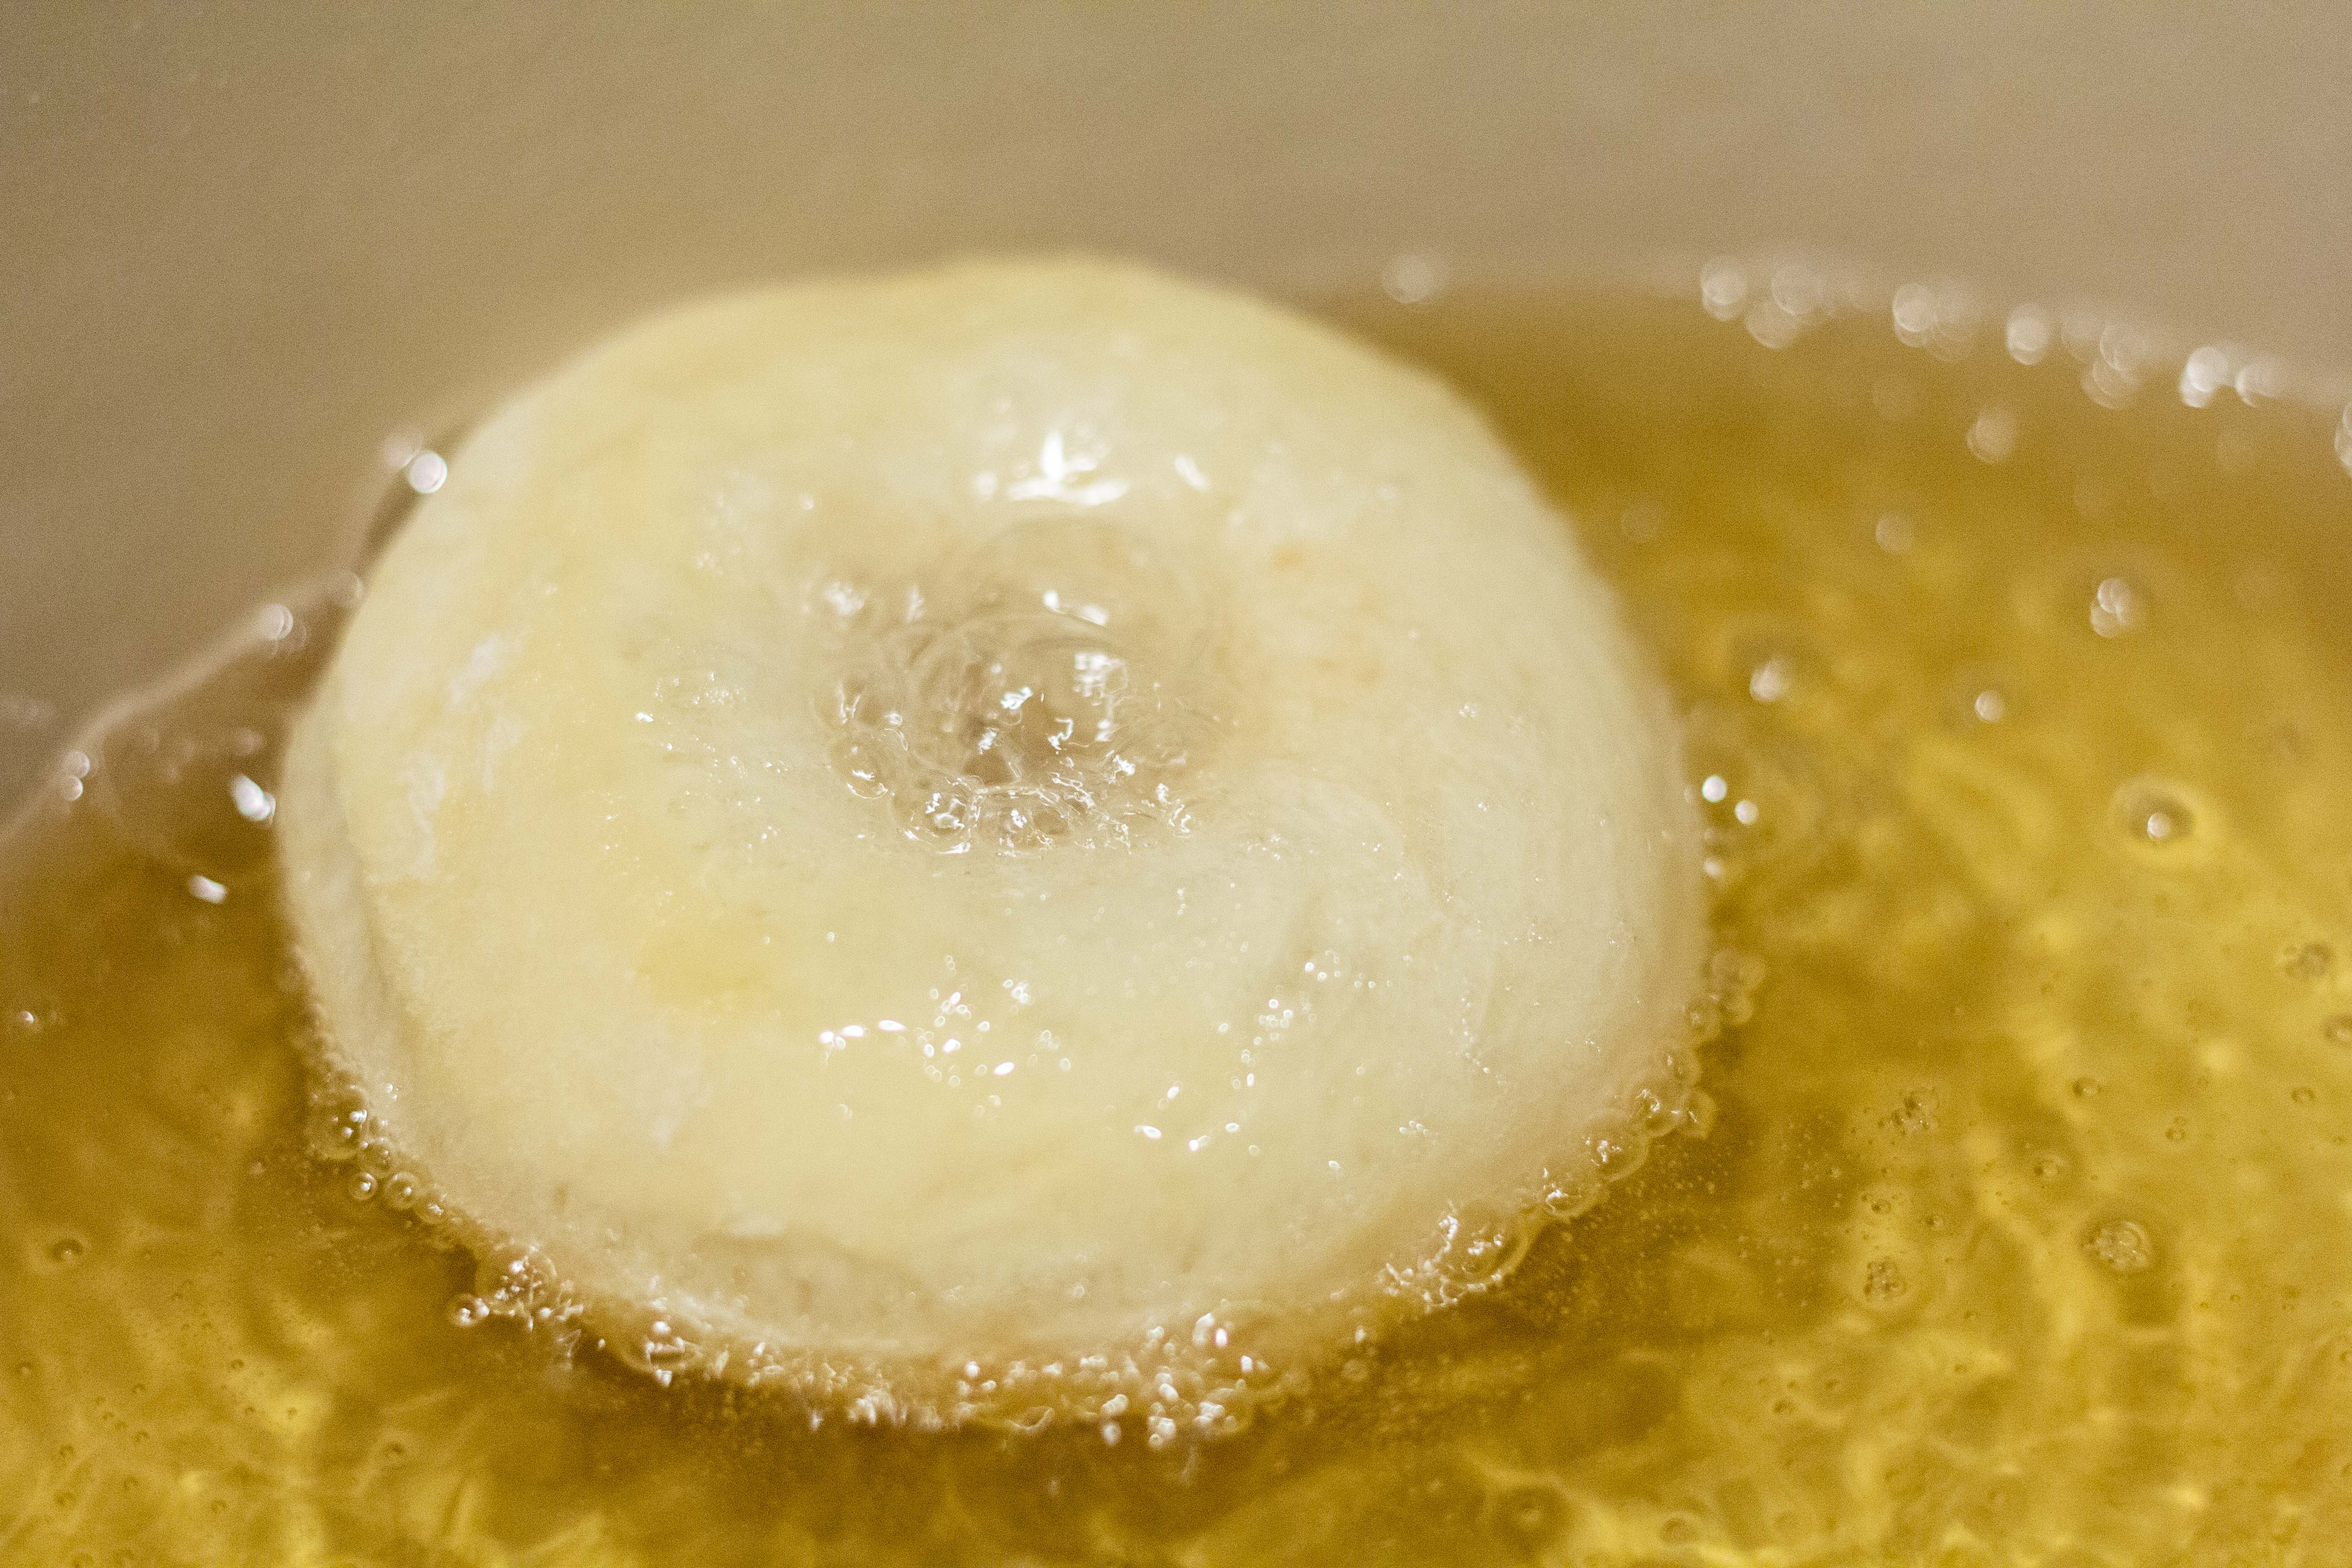
When the oil reaches and maintains the right temperature (I usually wait 2-3 minutes to make sure it’s right) gently add 2-3 donuts to the oil on the parchment. This will prevent any major splashing and keep the donut from deflating as you add it. The oil will bubble and could splatter, so always use caution when deep frying anything. Remove the parchement, which should have come slightly away from the donut, and set it aside. When the donut becomes golden brown flip it using tongs, a spatula, or those nifty deep frying mesh spoons. When the second side becomes golden brown remove the donut and place it on a paper towel-lined plate to remove the excess oil.
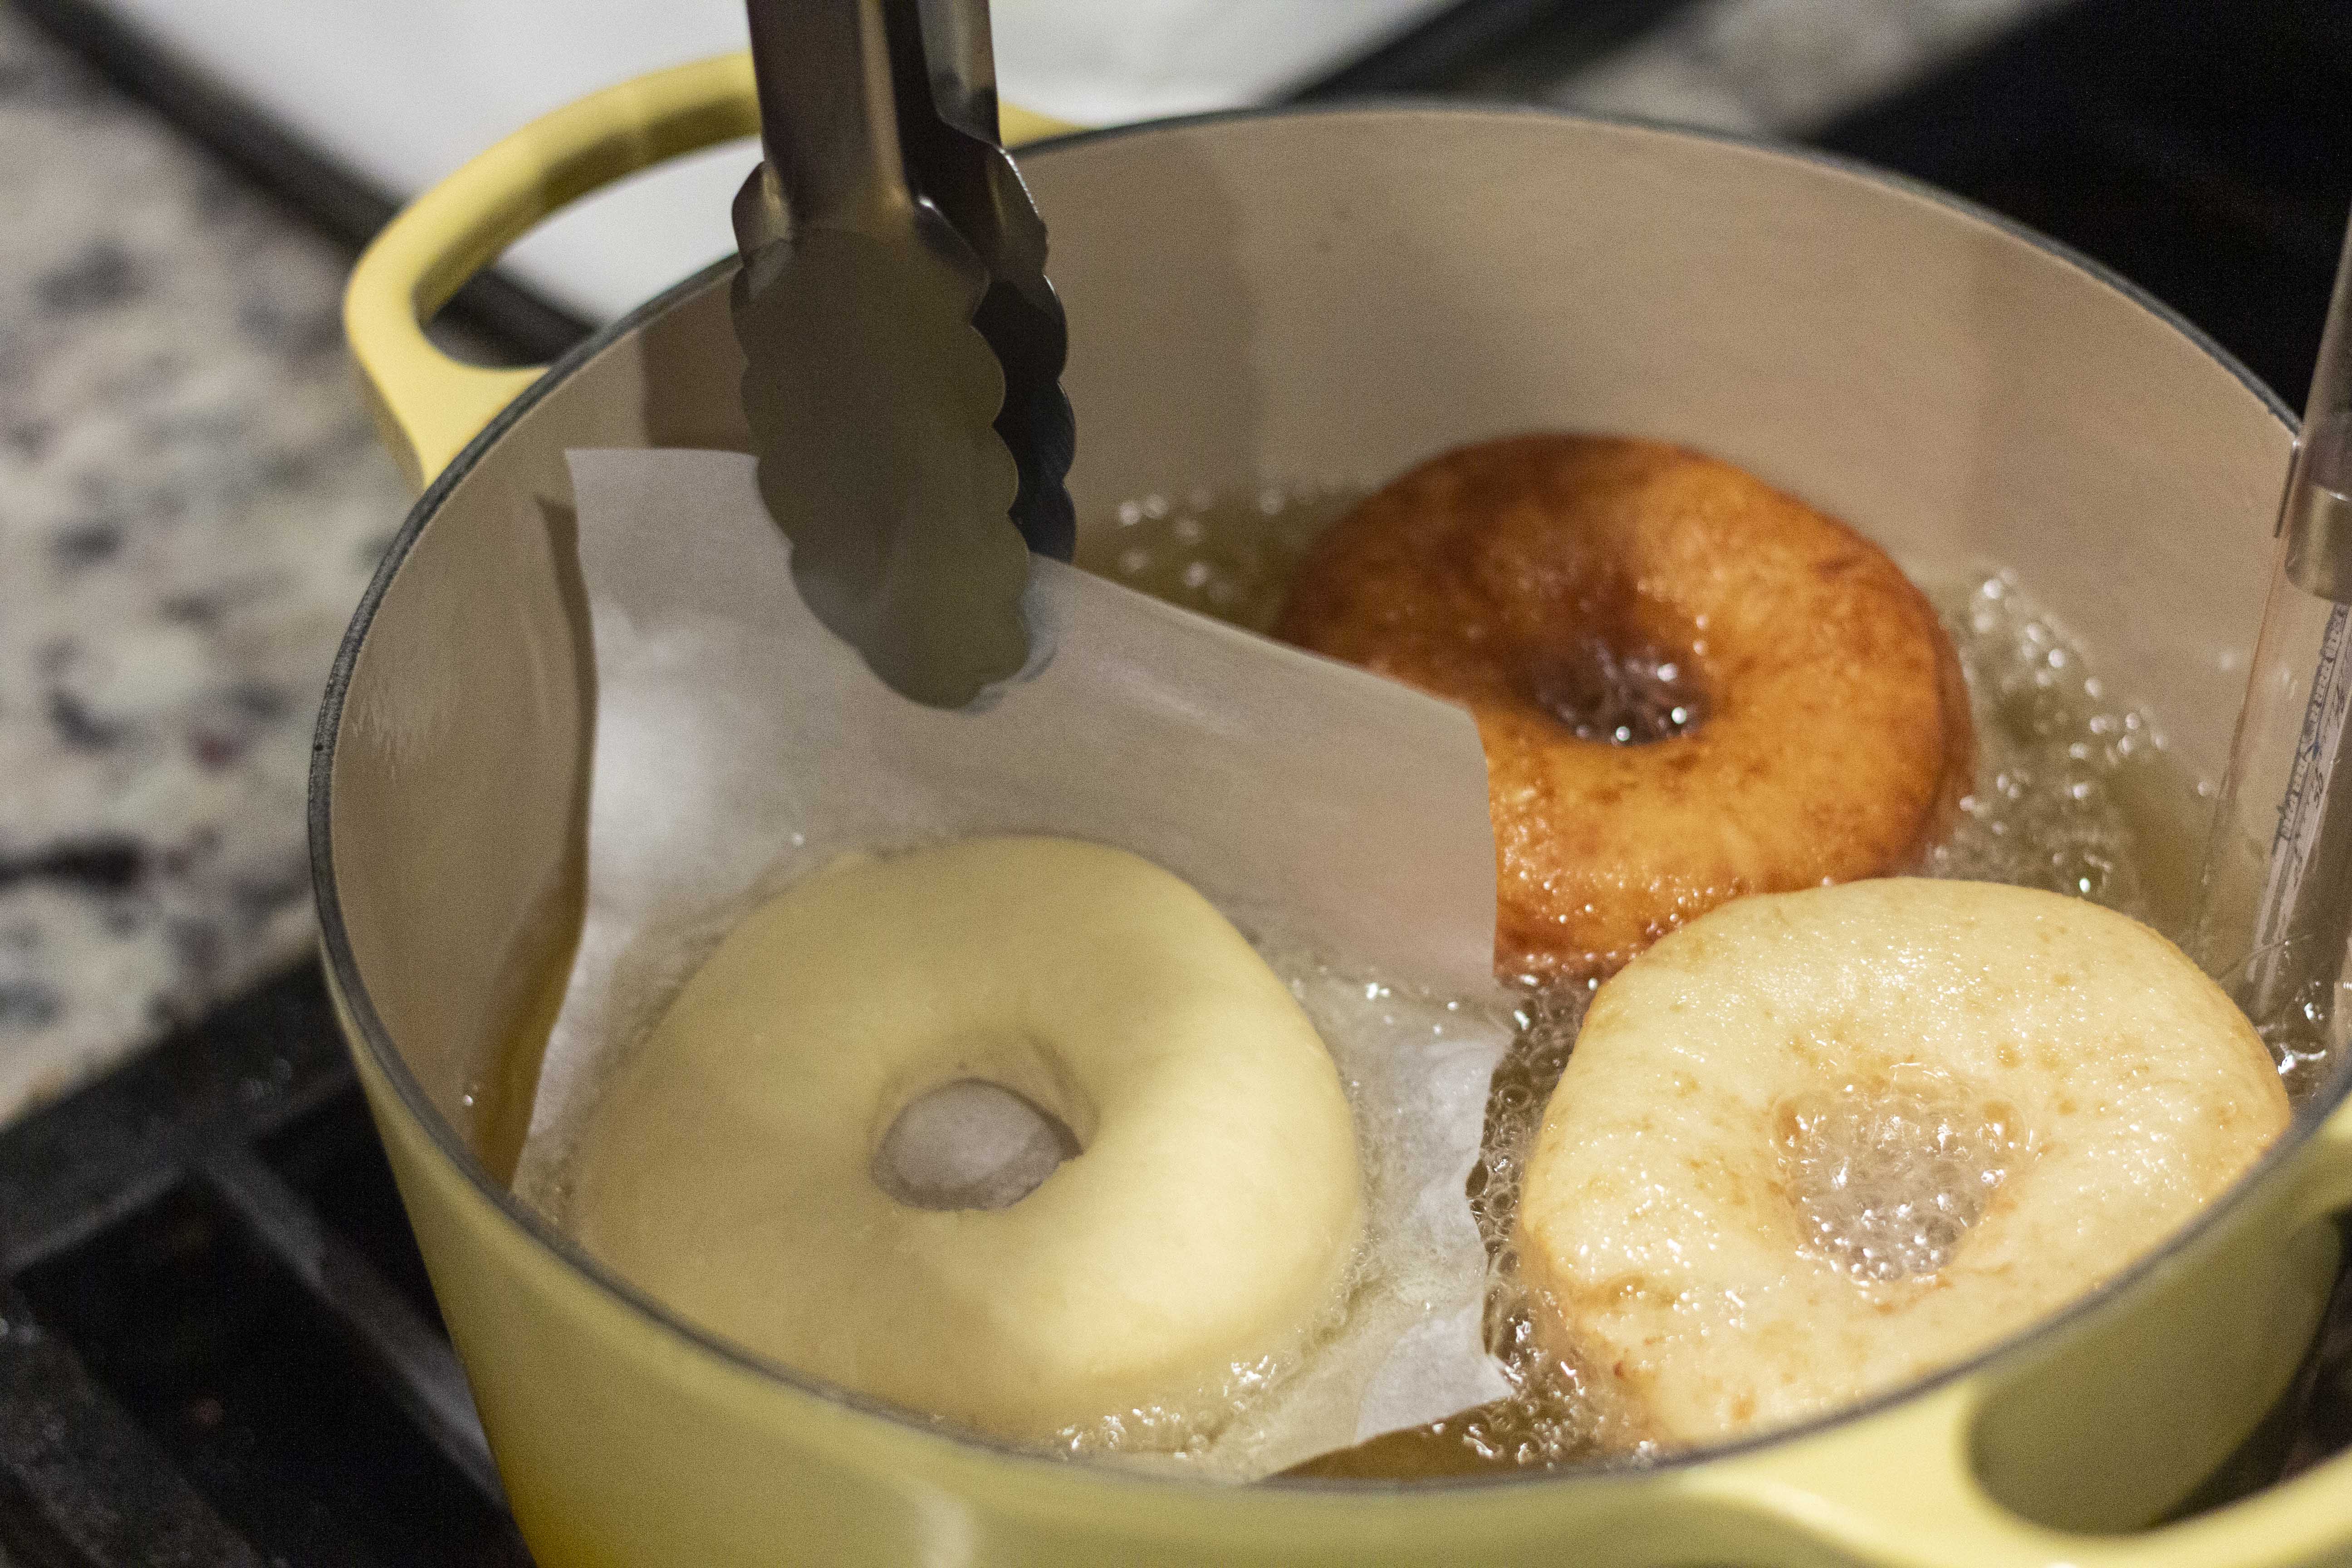


Lather, rinse, and repeat with the remaining donuts, making sure the temperature of the oil rises to 175-180 between each batch. When you add donuts to oil the temperature will drop, so you want to be patient or you’ll end up with a soggy mess.
When cool enough to handle, coat the donut in a generous helping of sugar (or a combination of cinnamon and sugar!). I usually make a pile of sugar on a plate and then rub the donut around in that pile. A lot of people do a bowl and toss the donut in the sugar in the bowl. Whatever works for you will work for the donut! But whatever you do, try to enjoy at least one while it’s hot! You won’t regret it!

Dad's Sugar Donuts

A light, fluffy buttermilk donut covered with sugar
Ingredients
- 395 grams all-purpose flour
- 50 grams sugar
- 1 teaspoon salt
- 4 g instant yeast
- 150 ml warm buttermilk, about 100F
- 1 large egg
- 57 grams salted butter, melted
- 100 ml warm water, about 100F
- oil for frying, about 3-4 cups
- sugar for coating donuts, about 1/3 cup
Directions
- Add the flour, sugar, salt, and yeast to the bowl of a stand mixer, with the yeast and the salt on opposite sides of the bowl.
- Add the egg, melted butter, and buttermilk.
- Turn on the mixer to low speed and mix with a dough hook until a dough ball starts to form. It will still be shaggy at this point.
- Once the dough reaches this stage add the warm water to the bowl, scrape down the sides, and turn the mixer on low.
- Mix until completely combined, scraping down the bowl as needed.
- Mix on low for 5-7 minutes. The dough will be very sticky at this point but do not be tempted to add more flour. Continue kneading until the edges of the dough start to form a rounded shape.
- Scrape the dough down to the bottom of the bowl, cover, and let rise until doubled. This could take between 1-2 hours.
- When the dough is doubled flour a surface and turn the dough out onto the surface. Flour a rolling pin and roll the dough out to 1/2 inch height.
- Flour a round donut cutter and cut donuts from the rolled dough, trying to space them close to get as many donuts as possible out of the dough. You can knead the scraps slightly, re-roll, and cut more donuts. However, these donuts will be heavier and not have the characteristic white line down the center of the donut. I do not re-roll scraps, but merely cut smaller circles for smaller donuts for children. If you don’t have a donut cutter, simply use a 3 inch round cutter for the donut and a 1 inch cutter in the center for the donut hole.
- Place the donuts on parchment paper and cover with plastic wrap or a tea towel. Do not use silicone mats. Make sure you’ve spaced the donuts far apart to allow for a rise and a cut around them.
- Allow to rise until doubled – they should be light and fluffy, but not over-risen.
- Heat 2 inches of vegetable or canola oil in a heavy-bottom pot or dutch oven.
- Using a candy thermometer, heat the oil gradually up to 175-180F.
- When the oil is nearly at temperature slowly and gently cut around the donuts and donut holes so they each sit on their own piece of parchment.
- When the oil reaches and maintains the right temperature gently add 2-3 donuts to the oil on the parchment. The oil will bubble and could splatter, so always use caution when deep frying anything. Remove the parchement, which should have come slightly away from the donut, and set it aside.
- When the donut becomes golden brown flip it using tongs, a spatula, or a deep frying spoon. When the second side becomes golden brown remove the donut and place it on a paper towel-lined plate to remove the excess oil.
- Repeat with the remaining donuts, making sure the temperature of the oil rises to 175-180 between each batch.
- When cool enough to handle, coat the donut in a generous helping of sugar or a combination of cinnamon and sugar. Try to enjoy at least one while it’s hot! You won’t regret it!